
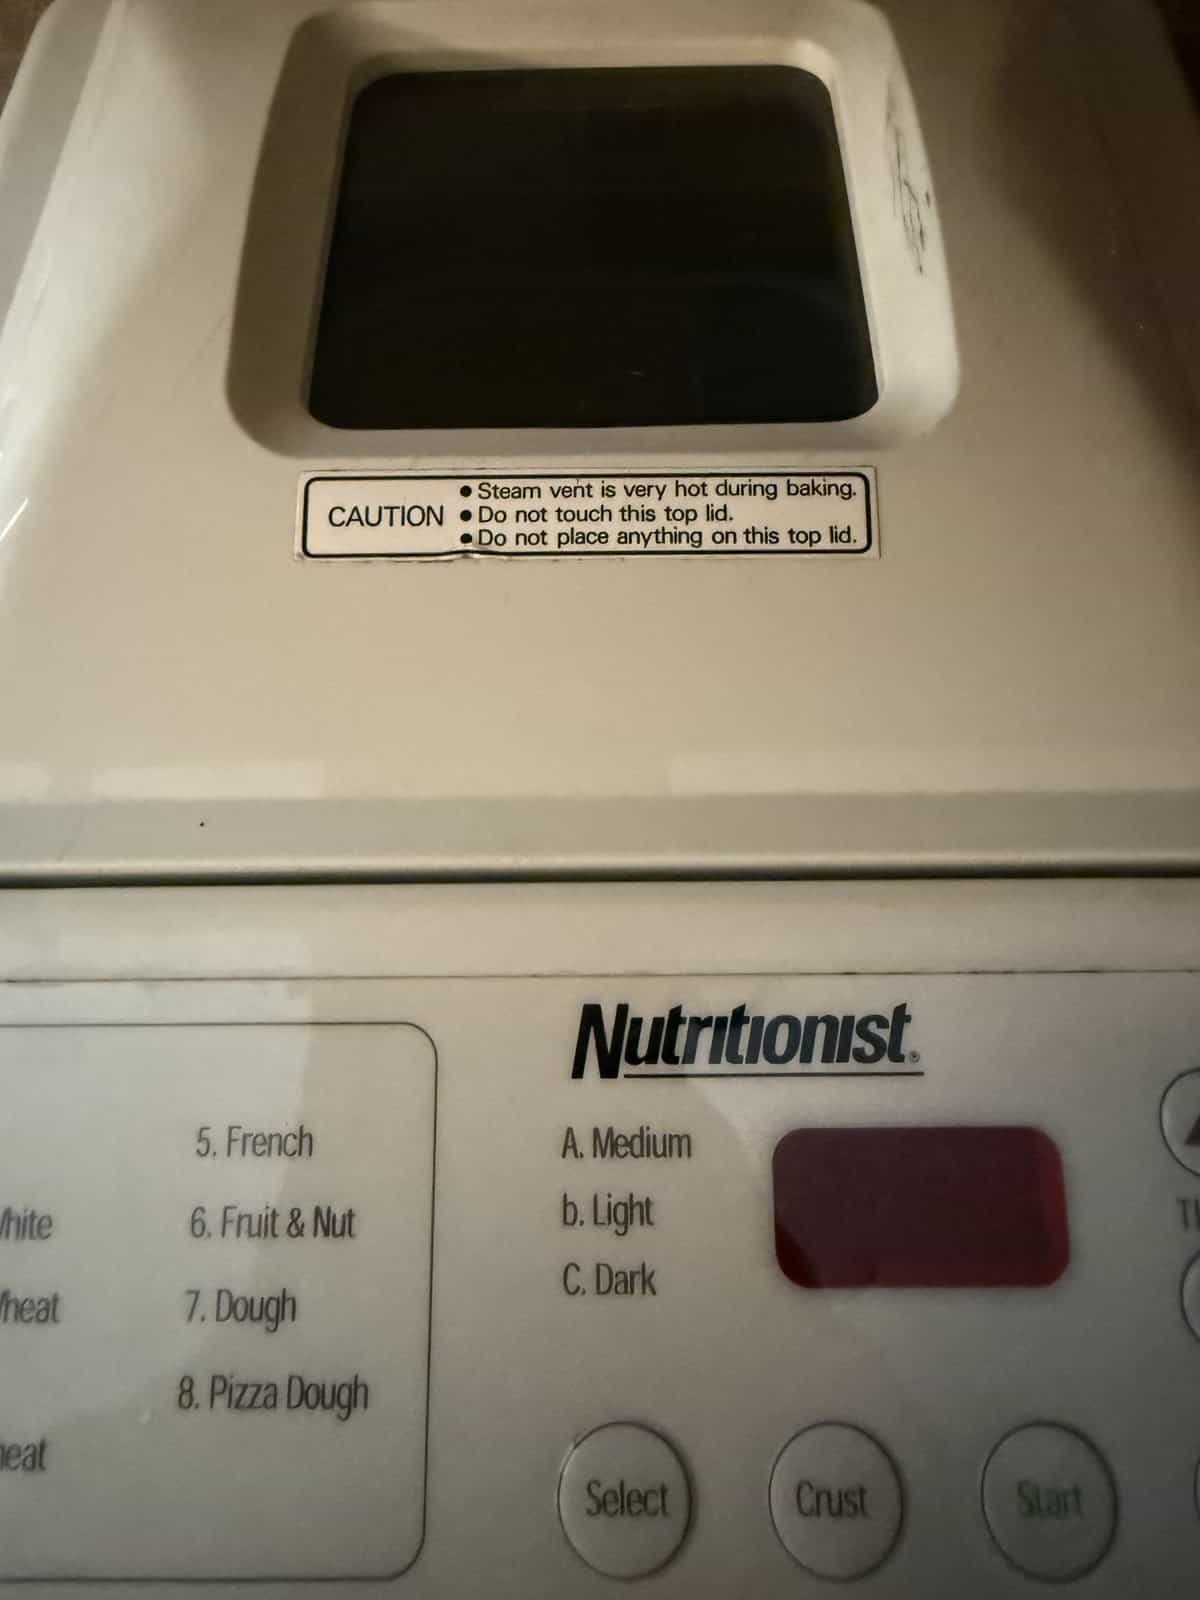
To use a bread machine, add your ingredients in the order the manual specifies, choose a program and crust setting, then press start and let the machine mix, knead, rise, and bake the loaf for you. Learning to use a bread machine takes one or two loaves, and the payoff is fresh bread with almost no hands-on work. When I started using mine recently, the biggest surprise was how little it asked of me, so this guide walks through the whole process the way it actually goes in a home kitchen. If you are still shopping, our guide to the best bread machines covers the types worth owning. Related reading: our guide to storing bread to keep it fresh.
Quick Verdict
Add wet ingredients first, then dry, keeping yeast away from liquid and salt until mixing begins. Select the program that matches your loaf, set the crust, and start. Add mix-ins at the machine’s beep, then remove and cool the loaf before slicing. The pan and paddle rinse clean in minutes. For more on this, see our guide to cleaning it afterward.
Key Takeaways
- Ingredient order matters: most machines want liquids first, flour next, and yeast last, kept dry.
- Match the program to the loaf, then set crust color and any delay timer before starting.
- Wait for the mix-in signal to add extras like jalapeno, cheese, seeds, or fruit.
- Remove and cool the loaf on a rack so the crumb sets before slicing.
- Cleanup is usually just the removable pan and paddle, washed by hand.
How to Use a Bread Machine Step by Step
These are the core steps for a basic loaf, and they hold across most machines. Always check your own manual for the exact ingredient order and program names, since they vary by model. See also our guide to using the delay timer.
- Add liquids first. Pour water or milk and any oil into the pan, following the temperature your recipe calls for.
- Add the dry ingredients. Spoon flour over the liquid, then add sugar and salt to opposite corners so the salt does not touch the yeast.
- Add the yeast last. Make a small well in the flour and add the yeast there, keeping it dry and away from the liquid until mixing starts.
- Fit the pan and choose a program. Lock the pan in place, then select the cycle that matches your loaf, such as white, whole wheat, or dough.
- Set crust and timer. Pick your crust color and, if you want bread ready later, set the delay-start timer.
- Press start and wait for the beep. Let the machine mix and knead, then add mix-ins when it signals if your recipe uses them.
- Remove and cool the loaf. When the cycle ends, lift the pan out with mitts, turn the loaf onto a rack, and let it cool before slicing.
- Clean the pan and paddle. Once cool, wash the removable pan and paddle by hand and wipe the interior.
What Order Do Ingredients Go In?
Most bread machines want wet ingredients first, then dry, with yeast added last and kept dry. This order keeps the yeast from activating too early in the liquid, which protects the rise. Salt and sugar go in separately from the yeast, since direct contact with salt can slow the yeast down. If your machine’s manual gives a different order, follow it, because a few models load dry ingredients first. Getting this sequence right is one of the simplest ways to get a consistent loaf, and accurate ratios help too, which is why measuring flour accurately matters as much as the order.
How Do You Choose the Right Program and Crust?
Pick the program that matches the bread you want, then set the crust to taste. A basic white cycle suits everyday sandwich loaves, whole wheat cycles run longer for denser flours, and a dough cycle mixes and kneads without baking so you can shape and bake in your oven. Crust settings usually run from light to dark, and a darker setting deepens color and flavor. If you want to understand what the machine is doing during the rise, our explainer on how yeast works is a useful companion. Choosing the right cycle is mostly about matching flour type and desired result. Whole wheat needs longer on both the knead and the rise, which our guide to machines with whole wheat cycles covers.
When Do You Add Mix-Ins Like Jalapeno and Cheese?
Add mix-ins at the machine’s signal, which sounds partway through the kneading stage. Adding them too early lets the paddle crush them into the dough, so the beep is your cue to fold in extras while they stay whole. My machine beeps during the knead, and that is when I add the jalapeno and cheese for the jalapeno cheese bread I like to make. The same timing works for seeds, dried fruit, nuts, herbs, and shredded cheese. If your model has an automatic dispenser, it handles the timing for you and drops the extras at the right moment.
How Do You Remove and Cool the Loaf?
When the cycle finishes, lift the pan out with oven mitts and turn the loaf onto a wire rack. The pan and loaf are hot, so mitts matter here. If the paddle stays stuck in the base of the loaf, let it cool and ease it out gently. Cooling on a rack lets steam escape so the crumb sets, which is why slicing too soon can leave the center gummy. Give the loaf time to cool before you cut it for the cleanest slices.
How Do You Clean a Bread Machine After Baking?
Cleaning is simple: remove the pan and paddle once cool, then wash them by hand and wipe the machine’s interior. In my experience the cleanup has been quick, since the nonstick pan rinses easily and the paddle only needs a short soak if dough sticks. Avoid submerging the machine base in water, and never use metal tools that could scratch the nonstick surface. A quick wipe after each bake keeps the machine ready for the next loaf and protects the coating over time. The pan and paddle are the parts that eventually wear, and our notes on replacing them cover what has to match.
Common Bread Machine Mistakes to Avoid
Opening the lid during the bake
Lifting the lid mid-cycle releases heat and can make a loaf sink or bake unevenly. If a loaf keeps collapsing, our guide on why a loaf fails to rise covers the usual causes.
Letting yeast touch salt or liquid early
Yeast that meets salt or water before mixing can lose strength, which flattens the rise. Keep it in a dry well until the machine starts.
Overfilling the pan
Going past the recommended flour amount can overflow the pan or strain the motor. Stick to recipes sized for your machine’s capacity.
Slicing the loaf too soon
Cutting a hot loaf traps steam and gives you a gummy center. Cool it fully on a rack first, and store leftovers well so they last, since knowing how to keep bread fresh extends every loaf.
Recommended Reading
- A white bread recipe, to try in your machine.
- Cinnamon rolls in a bread machine, using the dough cycle.
- Why a loaf comes out dense, if yours are heavy.
- Bread machines for beginners, for picking your first.
- The best bread machines, for choosing a model by type.
- Bread machine or stand mixer, if you are weighing the two.
- Budget bread makers, if price is your starting point.
- adding nuts, fruit, and cheese
- machines with a lid window
- whether any pod fits a Keurig
- which brew size to use
Related: you need the mix in beep on a bread machine.
How to Use a Bread Machine FAQ
Is a bread machine hard to use?
No. A bread machine is one of the easiest ways to bake bread, since it handles mixing, kneading, rising, and baking for you. The main thing to learn is ingredient order and which program to choose, and both come quickly after a loaf or two.
Do you put yeast or water in a bread machine first?
Water usually goes in first and yeast last on most machines. The liquid forms the base, dry ingredients follow, and the yeast sits in a dry well on top so it does not activate before mixing. Always check your manual, since a few models reverse this.
Can you use a bread machine to make dough only?
Yes. A dough-only cycle mixes, kneads, and gives the first rise, then you shape and bake in your oven. It is a popular way to make pizza dough, rolls, and hand-shaped loaves with less effort, and it pairs well with your own loaf pans. Choosing between programs is its own question, and our note on what each cycle does covers matching one to your flour.
When should you add extra ingredients like nuts or cheese?
Add them when the machine beeps during the kneading stage. That timing folds mix-ins through the dough without crushing them. If your model has an automatic dispenser, load the extras there and it releases them at the right moment for you.
Why is there a hole in the bottom of the loaf?
The hole comes from the kneading paddle, which stays in the pan during baking. It is normal for bread machines and does not affect the bread. You can ease the paddle out once the loaf has cooled if it stays lodged in the base.
How do you clean a bread machine?
Remove the pan and paddle once cool, wash them by hand, and wipe the interior. Avoid submerging the base and skip metal tools that could scratch the nonstick coating. A quick wipe after each use keeps the machine ready and protects the pan.
Can you leave bread in the machine after it finishes?
You can for a short time, since many machines have a keep-warm phase, but leaving bread in too long traps steam and softens the crust. For the best texture, remove the loaf soon after the cycle ends and cool it on a rack.
For the full picture: the comprehensive baker’s workspace methodology.
Savory loaves work differently from plain white. making jalapeno cheese bread covers adding cheese and peppers.
