
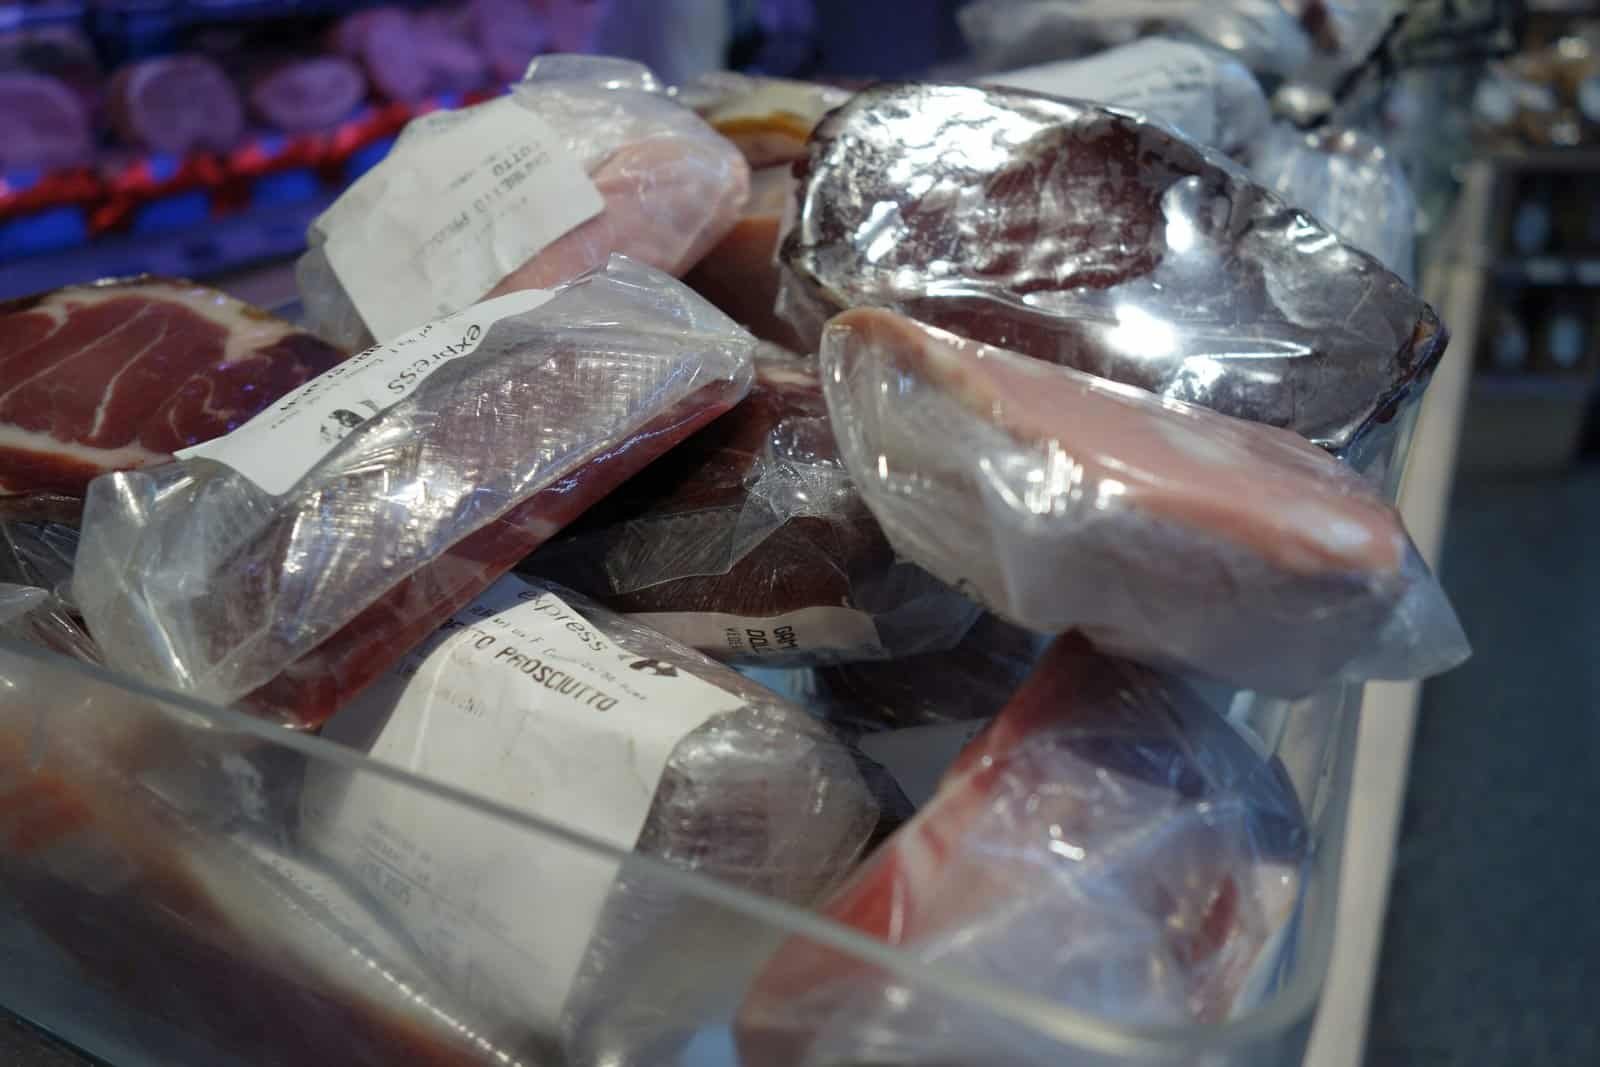
Get the air out, use material built for freezing rather than for lunchboxes, leave room at the top of anything liquid, and label everything before it goes in. How do you package food for the freezer well enough that it still tastes right later? Mostly by treating trapped air as the thing you are fighting.
Packaging also decides which thawing methods stay available to you. Our guide to defrosting food safely covers that side of it.
Quick Answer
Use freezer-grade bags or rigid containers, press or draw out as much air as you can, wrap dense items twice, leave a gap at the top of liquids so they can expand, portion into amounts you will use at once, and write the contents and date on the outside.
Key Takeaways
- Freezer burn is moisture leaving the food into trapped air.
- Freezer bags are thicker than storage bags for a reason.
- The water displacement trick removes air without any equipment.
- Liquids expand, so a full container will deform or split.
- Double wrapping matters most for dense items stored a long time.
- Portion size decides whether you ever cook the thing.
- An unlabeled package effectively does not exist.
| Food | Best packaging | Watch out for |
|---|---|---|
| Soups and stock | Rigid container or flat-frozen bag | Leave a gap at the top |
| Ground meat | Freezer bag, pressed flat | Air pockets in the corners |
| Whole cuts and roasts | Wrap, then a freezer bag over it | Bone edges piercing the wrap |
| Bread and baked goods | Wrap tightly, then bag | Slicing first saves thawing whole |
| Berries and cut fruit | Freeze on a tray, then bag | Bagging wet means one solid lump |
| Sauces and small portions | Ice cube tray, then bag the cubes | Transfer once solid, not before |
| Hard cheese for cooking | Grate first, then bag | Texture change makes blocks awkward |
| Casseroles and bakes | Line the dish, freeze, lift out | Freezing in the dish ties it up |
| Anything for cold water thawing | Leak-proof sealed bag | Supermarket trays are rarely watertight |
Air Is the Whole Problem
Everything in this article follows from one mechanism.
Frozen water does not have to melt to leave food. It can pass straight from ice to vapor, and that vapor moves into whatever air is trapped in the package, then refreezes on the coldest inner surface.
The result is the familiar pair of symptoms: crystals coating the inside of the wrapper and dry leathery patches on the food underneath. Those patches are dehydrated food, which is why they taste flat and feel tough.
Less trapped air means less of this. That is the entire principle, and every technique below is a way of removing air or preventing it from getting back in.
The change is a quality one rather than a safety one, and our fridge and freezer storage chart covers what that distinction means for food you find in that state.
Materials That Work, and Ones That Do Not
Freezer bags against storage bags
Freezer bags are noticeably thicker, and that thickness is a moisture barrier rather than a durability feature. A thin sandwich bag lets vapor through steadily, so food in one dries out far sooner.
Rigid containers
Good for liquids and for anything you do not want crushed. Choose ones rated for freezer temperatures, since some plastics turn brittle and crack. Our roundup of food storage containers covers the ones built for it.
Glass jars
Workable, with two rules: only straight-sided jars, and never filled to the shoulder. Our roundup of mason jars covers which shapes tolerate it.
What to avoid
Plastic wrap alone, foil alone, and the original supermarket tray with its thin film. All three let moisture through, and the tray traps a pocket of air against the food as well.
Getting the Air Out Without a Machine
A vacuum sealer does this best and nothing else does it as thoroughly. Our roundup of vacuum sealers covers that route.
Without one, water displacement gets remarkably close. Seal the bag except for one corner, lower it into a bowl of water, and let the water pressure push the air out through that gap.
As the water reaches the seal line, close the last corner and lift it out. The bag comes out clinging to the food with almost no air left.
For dry items, pressing flat works. Lay the bag on the counter, smooth from the sealed end toward the opening, then close it while it is still pressed down.
The straw method is the third option: seal the bag around a straw, draw the air out, pull the straw and finish the seal. It suits small awkward items where pressing is not practical.
Liquids Need Room
Water expands as it freezes, and a sealed container gives it nowhere to go.
Leave a gap at the top of anything pourable. A rigid container will bulge or split, and a jar filled to the shoulder can crack along the neck where the glass has no give.
The amount of room needed grows with the size of the container, so a large tub needs proportionally more than a small one. Erring generous costs nothing.
Freezing liquids flat in bags sidesteps the issue and stores better besides. Lay the filled bag flat on a tray, freeze solid, then stand the tile upright.
Small quantities go in an ice cube tray and get bagged once solid, which is the neatest answer for stock, pesto, tomato paste and leftover wine. Our roundups of ice cube trays and soup making gear cover both ends of that.
Portion Before, Not After
- Freeze in the amount you will actually cook. A large block gets postponed indefinitely.
- Flat tiles thaw far faster than blocks. Short distance from surface to center.
- Slice bread before freezing it. Then take what you need.
- Tray-freeze loose items first. Berries, meatballs and dumplings stay separate.
- Line a dish rather than freezing in it. Lift the frozen block out and bag it.
- Wrap dense items twice. Wrap tight, then bag over the top.
- Cool food before sealing it. Warm food packages trap condensation.
Labeling That Still Makes Sense Later
Write on the packaging before you fill it. A permanent marker refuses to write on a cold damp bag, which is how packages end up anonymous.
Put three things on every label: what it is, the date it went in, and the quantity or portion count. The third one is the one people skip and later want.
Add a cooking note where it helps. A bag marked as already seasoned, or as needing a longer bake from frozen, saves a guess at a bad moment.
Labels on the side rather than the top stay readable when packages are filed upright. Our roundup of label makers covers the tidier version, though marker on the bag works fine.
Related Reading
Frequently Asked Questions
How do you package food for the freezer?
Use freezer-grade bags or containers rated for freezing, remove as much air as you can, wrap dense items twice, leave a gap at the top of anything liquid, portion into amounts you will use at once, and label the outside with contents, date and quantity.
Why does trapped air matter so much?
Because frozen water can pass straight to vapor without melting. That vapor moves into the trapped air and refreezes on the wrapper, leaving dry leathery patches on the food. Less air means less of that, which is what every packaging technique is aiming at.
Are freezer bags actually different from storage bags?
Yes, and the difference is the point. Freezer bags are thicker, and that thickness works as a moisture barrier rather than just resisting tears. Thin sandwich bags let vapor pass steadily, so food stored in them dries out much sooner.
How do I remove air without a vacuum sealer?
Water displacement gets close. Seal the bag except one corner, lower it into a bowl of water so the pressure pushes air out through the gap, then close the corner as the water reaches the seal line. Pressing flat and the straw method are the alternatives.
How much room should I leave in a container?
Enough that the contents can expand without pushing against the lid, and proportionally more in a large container than a small one. Being generous costs nothing. A jar filled to the shoulder can crack at the neck, where the glass cannot flex.
Can I freeze food in glass?
Straight-sided jars tolerate it, provided they are not filled to the shoulder and you avoid putting cold glass into heat afterward. Jars that narrow at the neck are the ones that crack, because expanding contents have nowhere to push except outward against the glass.
Should I cool food before sealing the package?
Yes. Sealing warm food traps steam that condenses inside the packaging and freezes into a layer of ice against the surface. Cool it first, then seal, then freeze.
Does packaging affect how I can thaw it?
It does. Cold water thawing requires a genuinely leak-proof bag, since water reaching the food both contaminates and waterlogs it. Original supermarket packaging is frequently not watertight, so moving food into a sealed bag beforehand keeps that option open.
