
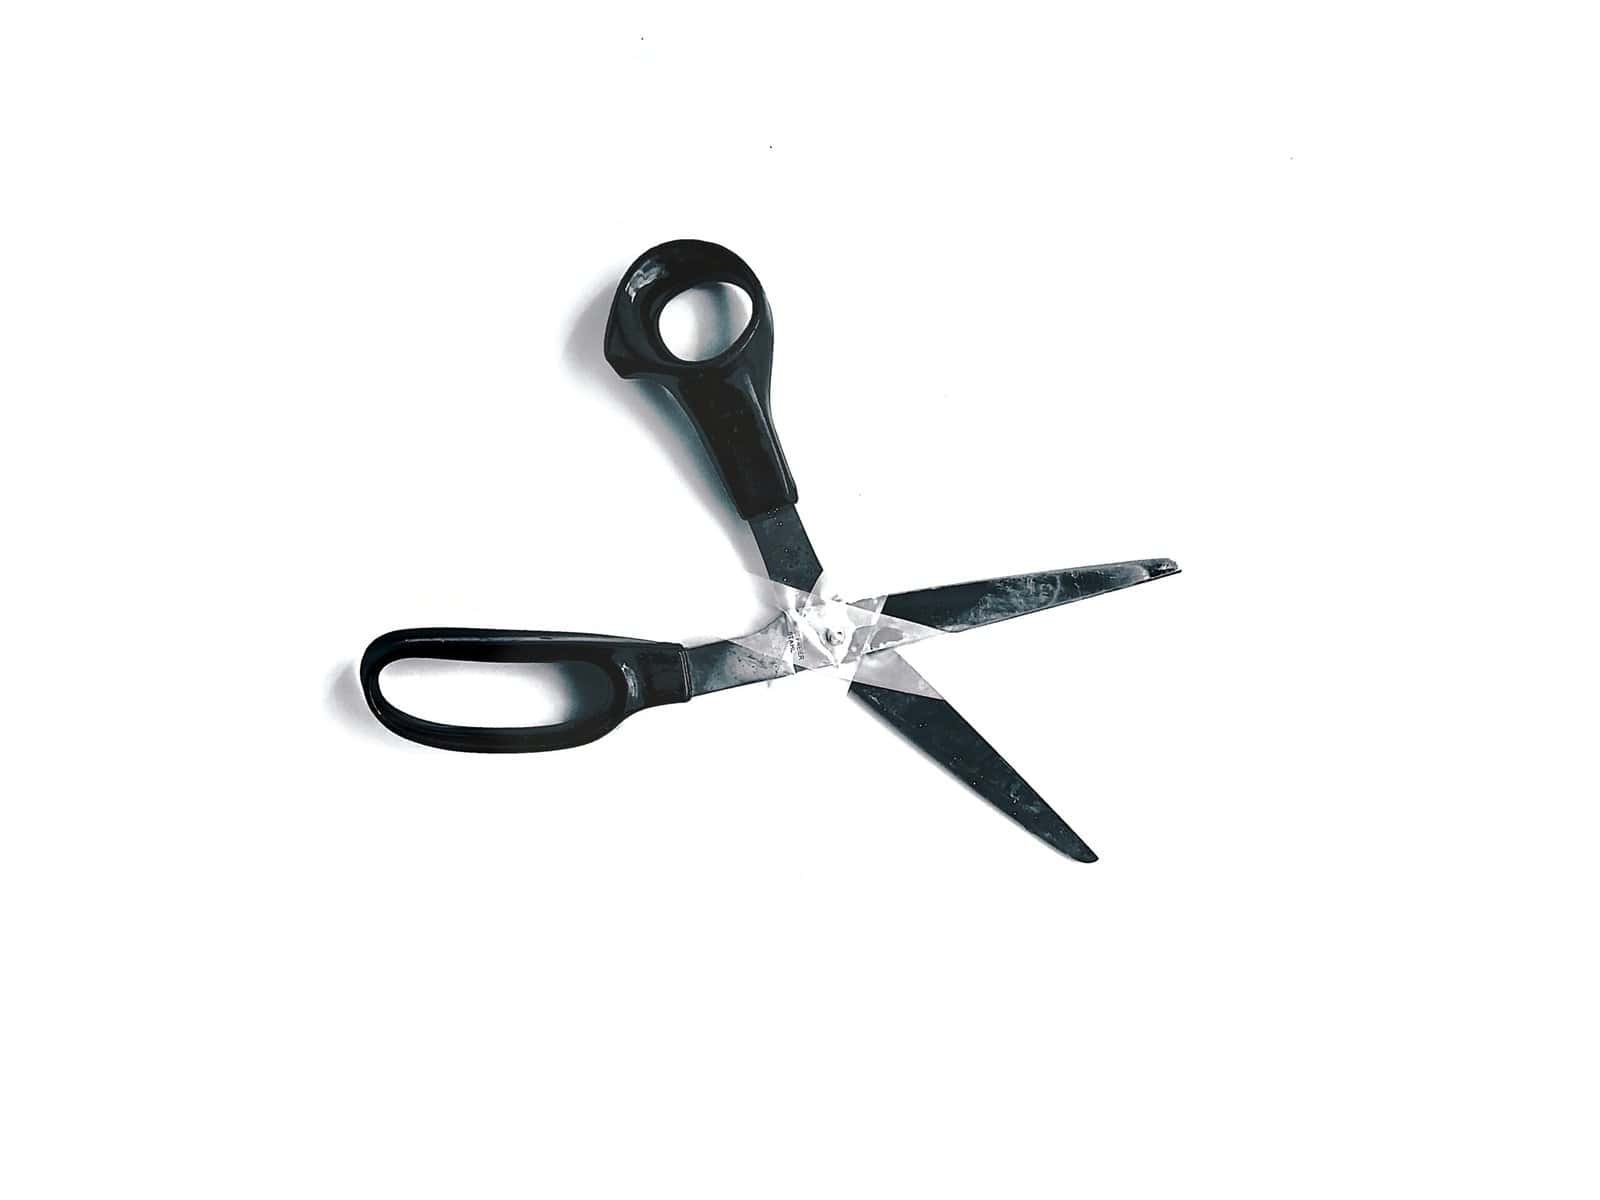
Shears go dull the same way knives do and they cannot be sharpened the same way. The geometry is different, and treating a blade like a knife edge is how people ruin a good pair.
This covers what actually needs sharpening, the method, and when the problem is not sharpness at all. Our roundup of kitchen shears covers what to buy.
Quick Answer
Sharpen only the outer bevel, at the angle already ground on it, working from pivot to tip in one direction. Never touch the flat inner face. If the blades separate rather than cut, the problem is the pivot rather than the edge.
Key Points
- Only the outer bevel gets sharpened, never the inner face.
- Shears cut by shearing past each other, not by wedging.
- A loose pivot mimics dullness and needs tightening instead.
- Take-apart shears are far easier to service.
- Pull-through knife sharpeners are the wrong tool.
Why Shears Differ From Knives
| Feature | Knife | Shears |
|---|---|---|
| Cutting action | Wedges apart | Shears past |
| Bevel | Both sides | Outer only |
| Inner face | Not applicable | Must stay flat |
| Contact | Along the edge | A moving point |
| Pivot | None | Critical |
| Sharpening tool | Stone or system | Stone or file, by hand |
The Inner Face Is the Whole Point
Shears cut because two blades pass each other with their flat faces in contact, and the cutting happens at the moving point where they cross.
That contact is what shears the material rather than crushing it, and it depends entirely on both inner faces being flat and meeting cleanly.
Grinding the inner face, even lightly, creates a gap. Once there is a gap the blades stop meeting along their length and the shears push material aside rather than cutting it.
This damage is effectively permanent on most shears, since restoring flatness means removing metal across the whole face.
Everything about the method follows from protecting that surface. Our roundup of herb scissors covers multi-blade designs where the same principle applies.
What You Need
A stone or a fine file
Sharpening stone, diamond file, or a rod.
Take-apart shears help
Separated blades are much easier.
A cloth and some oil
For cleaning before and after.
Not a pull-through sharpener
Those are built for double-bevel edges.
The Method
Clean the blades first, since dried food and sticky residue account for a surprising share of shears that feel dull.
Open the shears wide, or take them apart if the design allows, so one blade can be worked without the other in the way.
Find the existing bevel angle on the outer face and match it. That angle was set at the factory and changing it makes the edge worse rather than sharper.
Draw the stone along the bevel from pivot toward tip, in one direction only, with light and consistent pressure. Several passes beat heavy pressure.
Check the inner face for a burr afterward and remove it by laying the stone flat and wiping once, without grinding. Our guide on sharpening a knife covers the contrasting technique.
When It Is Not the Edge
A large share of dull-feeling shears have a mechanical problem instead, and sharpening does nothing for it.
A loose pivot lets the blades separate under load, so material slips into the gap rather than being cut. The symptom is shears that cut near the pivot and fail toward the tip.
Tightening the pivot screw is usually the whole fix, and it should be snug enough that the blades stay in contact while still moving smoothly.
Sticky residue between the blades produces a similar feel and comes off with hot water and soap or a little solvent.
Testing on paper distinguishes them quickly, since a sharpness problem fails everywhere while a pivot problem fails toward the tip. Our roundup of knife sharpeners covers tools that are not suitable here.
Testing Before and After
Knowing whether the work achieved anything needs a test that shows where the problem is rather than only whether one exists.
Paper is the standard, and how it fails tells you what to fix. Cutting cleanly from pivot to tip means the edge and the pivot are both fine.
Catching or folding partway along points at a nick or a dull section in that specific area rather than along the whole blade.
Failing consistently toward the tip while cutting well near the pivot is the pivot signature, and no amount of sharpening changes it.
Thin plastic film is a harder test than paper, so anything that cuts film cleanly is genuinely sharp.
Steel Type Changes the Work
What the blades are made of affects both how often they need attention and how they respond to it.
Stainless resists corrosion and generally holds an edge for a moderate period, which is why most kitchen shears use it.
Carbon steel takes a keener edge and loses it sooner, and it rusts readily if left wet, which makes drying immediately more important.
Coated or titanium-finished blades complicate sharpening, since removing metal removes the coating along the edge whether you want to or not.
Harder steel takes longer to sharpen and stays sharp longer, which is a trade rather than an advantage. Checking what your own pair is made from, usually printed on the blade, tells you which of these applies.
What Wears Shears Out
Most damage comes from use they were not designed for.
Cutting packaging, cardboard, wire ties and plastic clamshells is the common one, and all of them are harder on an edge than food.
Bone and frozen food damage kitchen shears unless they are specifically built for poultry, which is a different tool with heavier blades.
Dishwashers are hard on shears too, since heat and detergent degrade the pivot and any coating, and blades knocking against other items chip edges.
Washing by hand and drying immediately extends life considerably, particularly on carbon steel. Our note on putting knives in the dishwasher covers the same reasoning.
When to Replace Instead
Some shears are not worth sharpening, and knowing which saves effort.
Inexpensive shears with riveted pivots cannot be taken apart or adjusted, so a loose pivot ends them regardless of edge condition.
Serrated shears are difficult to sharpen by hand, since each serration needs individual attention with a rod that fits.
Nicks deep enough to catch on material need substantial metal removal to work out, which changes the blade geometry.
A good pair with a working pivot is worth maintaining for years. Anything riveted and cheap is a consumable, and treating it as one is the honest answer.
Common Mistakes to Avoid
Sharpening the inner face
It has to stay flat for the blades to meet. Grinding it creates a gap that is effectively permanent.
Using a pull-through knife sharpener
Those are built for double-bevel knife edges and will grind both faces of a shear blade.
Changing the bevel angle
Match what is already there. A new angle makes the edge worse rather than sharper.
Sharpening when the pivot is loose
Blades separating under load feels identical to dullness. Tighten the screw before touching the edge.
Recommended Reading
See our roundup of honing rods and steels, our note on why knives get dull, our guide on organizing your kitchen, and our roundup of cutting boards.
Sharpening Shears FAQ
Can I use a knife sharpener on shears?
No. Pull-through sharpeners grind both faces, and the inner face of a shear blade has to stay flat.
Which side do I sharpen?
The outer bevel only, at the angle already ground on it. The flat inner face is never sharpened.
Why do my shears cut at the base but not the tip?
That is a pivot problem rather than a sharpness one. The blades are separating under load, so tighten the screw.
Do I need to take them apart?
It helps considerably, but only if the design allows it. Riveted shears cannot be separated and are harder to service.
Which direction do I sharpen?
From pivot toward tip, in one direction only, with light consistent pressure across several passes.
How do I remove the burr?
Lay the stone flat against the inner face and wipe once. Wipe rather than grind, since the face must stay flat.
Can serrated shears be sharpened?
With difficulty. Each serration needs a rod that fits it, which is slow enough that replacement is frequently the better answer.
Why did they go dull so fast?
Usually cutting things they were not meant for. Packaging, cardboard and wire ties are all harder on an edge than food.
