
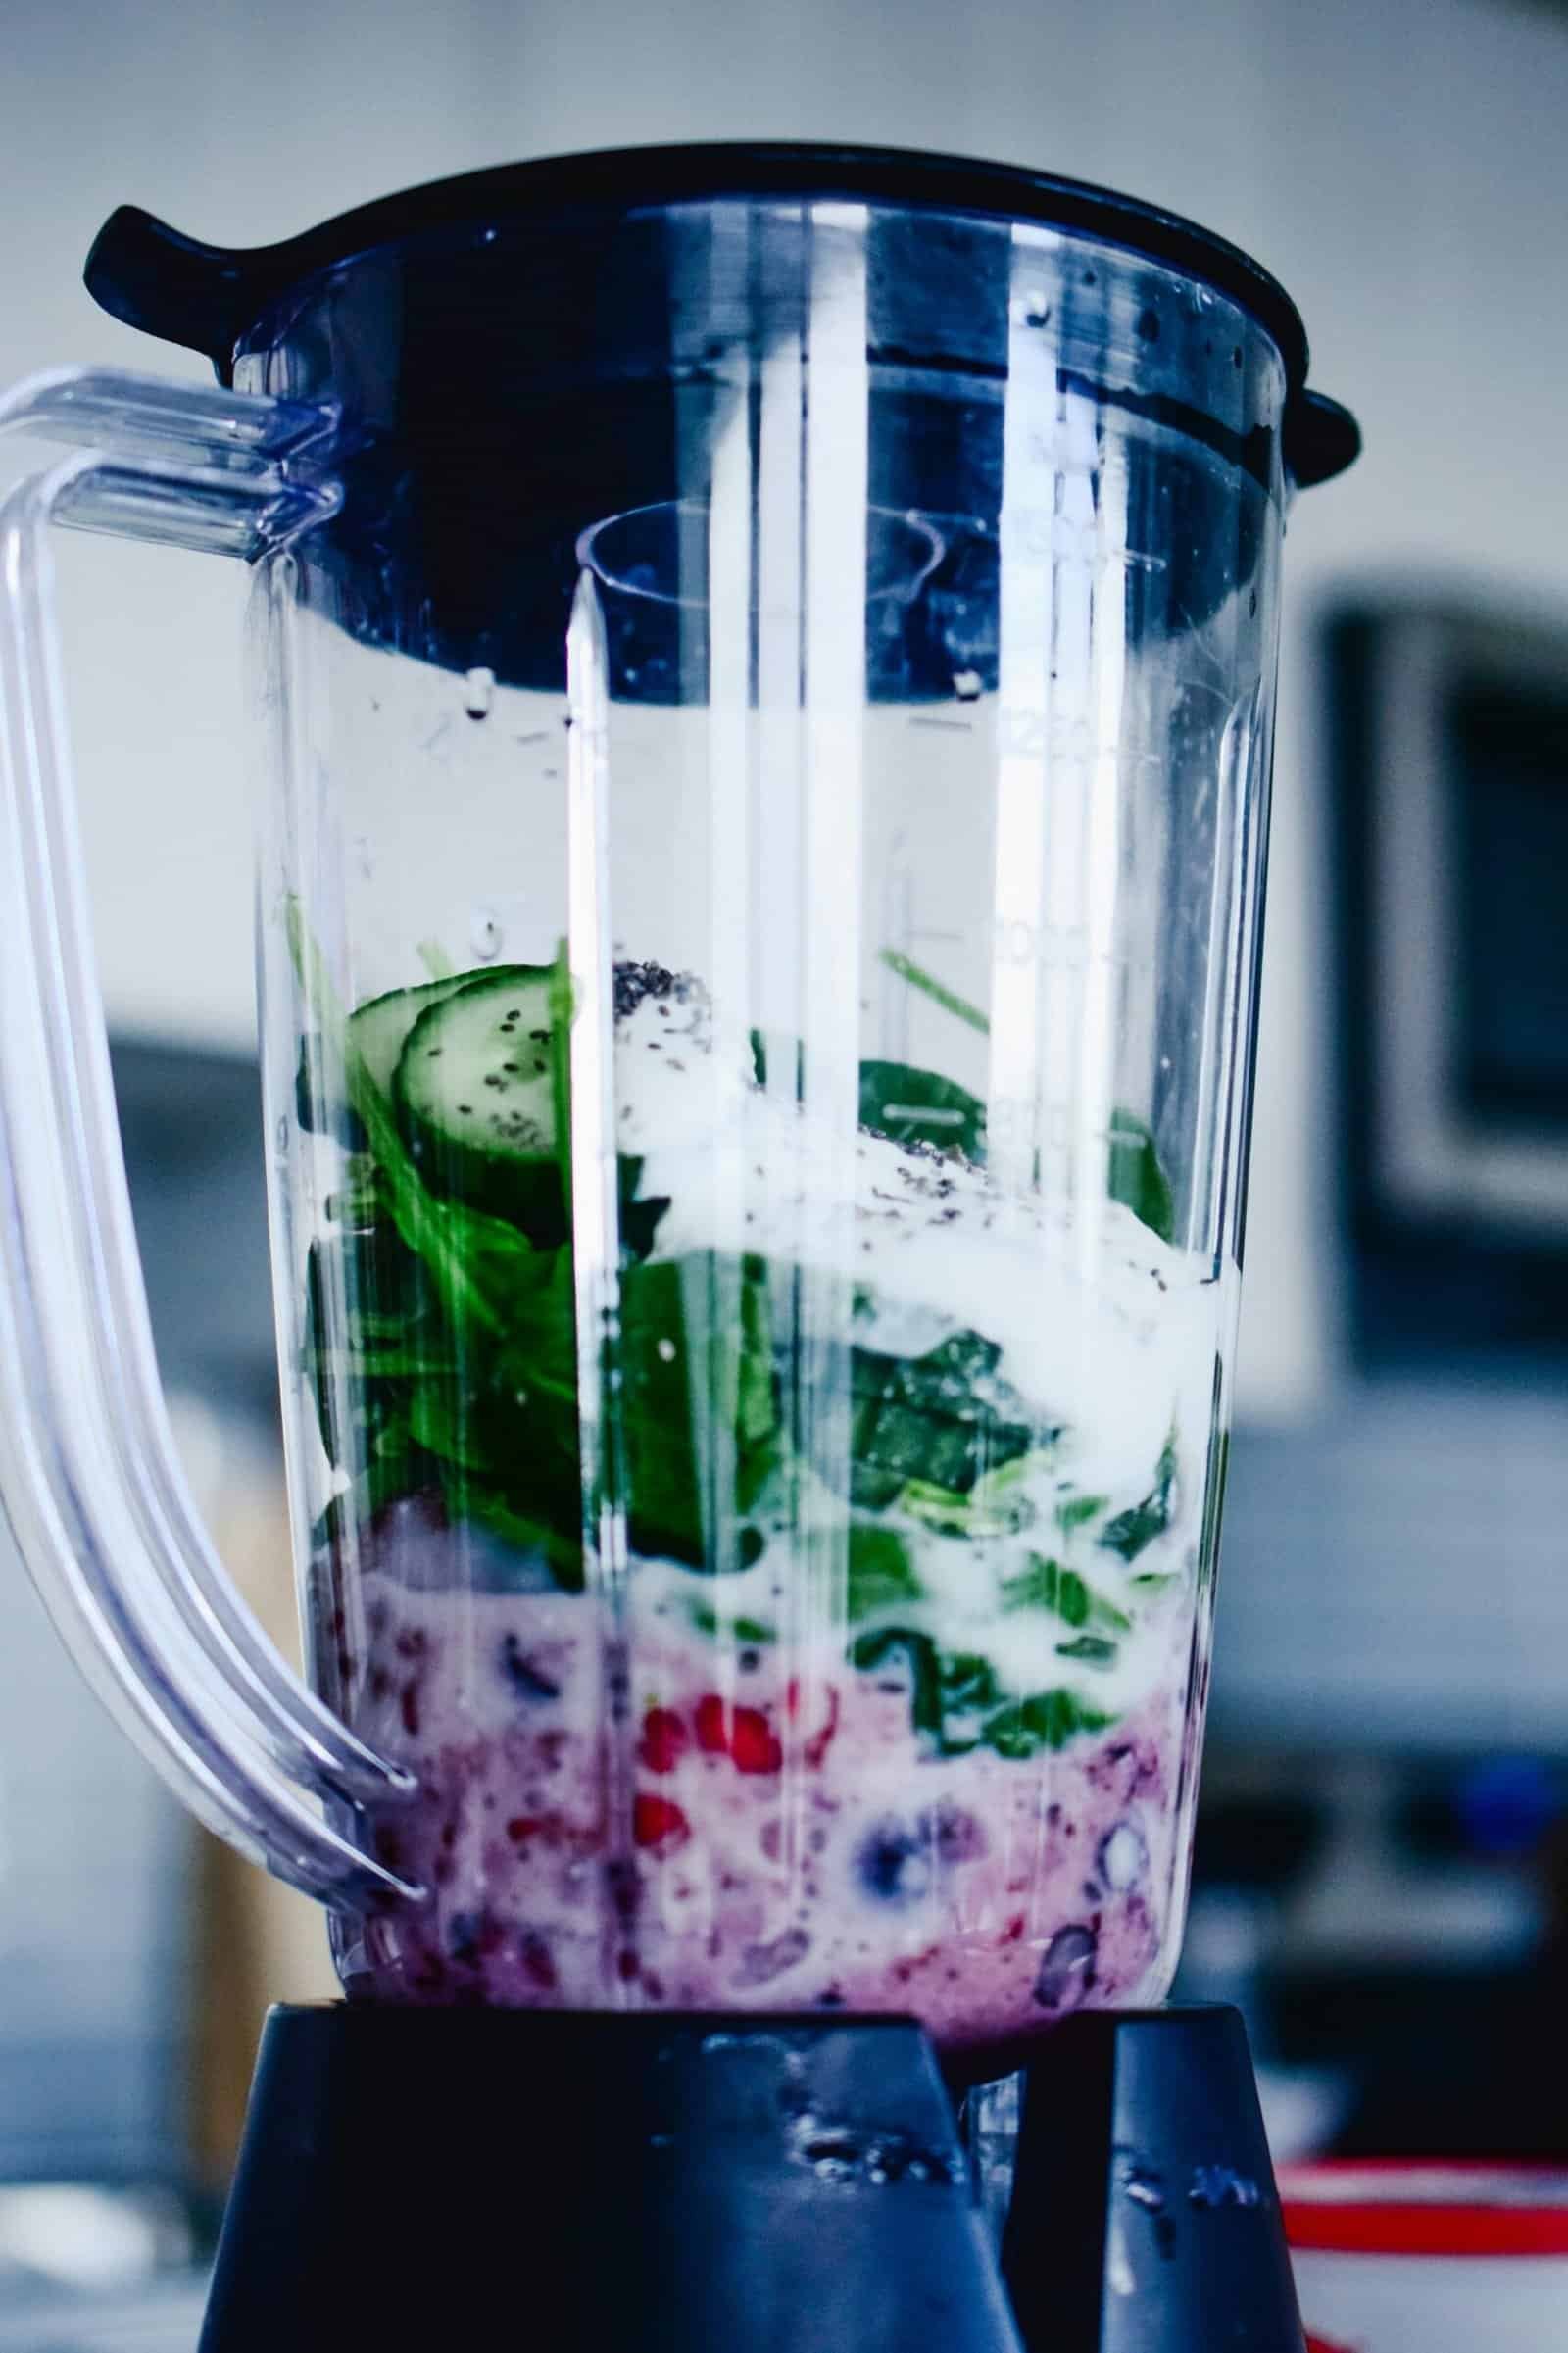
The quickest way to clean a blender is the self-clean method: add warm water and a drop of dish soap to the jar, run the blender for a minute, then rinse, with a deeper clean of the disassembled parts when needed. Cleaning a blender right after use keeps residue from drying on and makes the job effortless. The self-clean trick handles most cleanups in under two minutes without you touching the blades.
| Situation | Best method |
|---|---|
| Right after a smoothie | Self-clean: water, soap, blend |
| Sticky or dried residue | Self-clean, then soak parts |
| Deep clean | Disassemble and wash parts |
| Base unit | Wipe with a damp cloth only |
A blender is easiest to clean when you do it right away, before residue dries and hardens. The star method is the self-clean: fill the jar partway with warm water, add a drop of dish soap, put the lid on, and run the blender for thirty seconds to a minute. The blending action scrubs the inside and the blades for you, and then you just rinse. This handles the everyday cleanup of a blender used for smoothies and similar tasks safely and fast, keeping your hands away from the blades. For anything the self-clean does not fully handle, a deeper clean of the parts follows. Choosing a blender covers the machine itself.
The Self-Clean Method
The self-clean trick is the fastest and safest way to clean a blender jar, so it is worth doing right after each use. Add warm water until the jar is a third to half full, put in a single drop of dish soap, secure the lid, and run the blender for thirty seconds to a minute. The swirling soapy water scrubs the sides and the blades, loosening and washing away residue without you having to reach in near the blades. Then pour it out and rinse with clean water. Done immediately after blending, this cleans the jar completely in most cases and is by far the easiest approach. Blenders for smoothies cover the machines this suits.
When You Need a Deeper Clean
Sometimes residue dries on, or you have blended something sticky or strongly flavored, and the self-clean is not enough. Then it is time to take the jar apart. Many blenders let you unscrew the blade assembly from the bottom of the jar, so you can wash the jar, the blade unit, the lid, and any gaskets separately. Warm soapy water and a bottle brush reach spots the self-clean misses, especially around the blade base where residue hides. Handle the blade assembly carefully since it is sharp. A deeper clean like this is worth doing periodically, and whenever the self-clean leaves anything behind. Blender vs food processor covers the different tools.
Watch the Base and Blades
Two parts need special care. The base, the motor unit the jar sits on, must never be submerged in water, since it houses the electronics and motor; wipe it clean with a damp cloth instead. If liquid has splashed onto the base during blending, unplug it first, then wipe it dry, taking care around the buttons and any seams where water could seep in. Keeping the area where the jar meets the base clean also matters, since spills there can dry into sticky residue that makes the jar harder to seat properly. And the blades are sharp, which is exactly why the self-clean method is so useful, it cleans them without you touching them. When you do handle the blade assembly for a deeper clean, do so carefully. Keeping water away from the base and respecting the blades keeps cleaning both safe and damage-free, which is why the self-clean approach, which avoids both hazards, is the everyday go-to. Immersion blenders cover another blender style.
Cleaning the Lid and Gasket
One spot people forget is the lid and its gasket, the rubber seal that keeps the jar from leaking. Residue and moisture can collect in and around the gasket, so it is worth removing the lid parts where possible and washing them separately, especially the small ring or seal. Trapped moisture there can lead to odors or, over time, mildew, so drying these parts fully before reassembling matters. A quick rinse of the lid during the self-clean handles everyday use, but pulling the gasket for a proper wash now and then keeps the whole lid fresh and sealing well. Giving the lid the same attention as the jar means no hidden residue lingers where you cannot easily see it. Smoothie blenders cover machines with easy-clean lids.
Is It Dishwasher Safe
Whether blender parts can go in the dishwasher depends on the model, so check your blender’s guidance. Many blender jars and parts are dishwasher safe, often on the top rack, but some are not, and high heat can affect certain jars or dull blades over time. The base is never dishwasher safe. When in doubt, the self-clean method plus occasional hand-washing of disassembled parts is safe for any blender. If your model’s parts are dishwasher safe, that is a convenient option for a deeper clean, but the quick self-clean remains the fastest for everyday use. Dishwasher-safe kitchenware covers what goes in the dishwasher.
Keeping Odors and Stains Away
Blenders that see strongly flavored or colored ingredients can pick up smells or stains over time, and a couple of habits keep them fresh. Cleaning right after use is the biggest factor, since residue left to sit is what leads to lingering odors and staining. For a blender that has taken on a smell, a self-clean cycle with warm water and a little baking soda, or a splash of vinegar, helps neutralize it, followed by a rinse. Staining from things like bright vegetables or spices often lifts with a baking soda paste left on the marks briefly before rinsing. Letting the jar dry fully with the lid off, rather than sealing it away damp, prevents musty smells from developing. These simple steps keep a well-used blender smelling clean and looking clear, so it is always ready for the next smoothie without carrying over the last one. Blenders cover machines built for frequent use.
Worth reading next: choosing a blender, blenders for smoothies, blender vs food processor, and immersion blenders.
How to Clean a Blender FAQ
What is the fastest way to clean a blender?
The self-clean method: add warm water and a drop of dish soap to the jar, secure the lid, and run the blender for thirty seconds to a minute, then rinse. The blending action scrubs the jar and blades for you, cleaning it in under two minutes without touching the blades.
How do I clean a blender after a smoothie?
Do it right away with the self-clean method before residue dries. Warm water, a drop of soap, blend for a minute, then rinse. Cleaning immediately after use is what makes it effortless, since dried-on smoothie residue is harder to remove later.
Can I put my blender jar in the dishwasher?
It depends on the model, so check your blender’s guidance. Many jars and parts are dishwasher safe, often on the top rack, but some are not, and heat can affect certain jars or blades. The base is never dishwasher safe. When unsure, the self-clean method is safe for any blender.
How do I clean blender blades safely?
The self-clean method is safest, since it cleans the blades without you touching them. For a deeper clean, you can unscrew the blade assembly on many blenders and wash it carefully, keeping in mind the blades are sharp. Handling them with care avoids cuts.
Can I submerge the blender base in water?
No, never. The base houses the motor and electronics, so submerging it can damage it and is unsafe. Wipe the base clean with a damp cloth instead. Only the jar, lid, and blade parts should be washed with water, never the motorized base.
How do I clean dried-on residue in a blender?
Start with the self-clean method, then if residue remains, disassemble the jar and blade unit and wash the parts with warm soapy water and a bottle brush. Soaking the parts first helps loosen dried residue. Taking it apart reaches spots around the blade base the self-clean misses.
How often should I deep clean my blender?
The self-clean handles everyday use, but a deeper clean of the disassembled parts is worth doing periodically, and whenever you have blended something sticky, strongly flavored, or that dried on. Regular self-cleaning keeps buildup down so deep cleans are needed less often.
More in this guide: how to choose the right stand mixer.
