
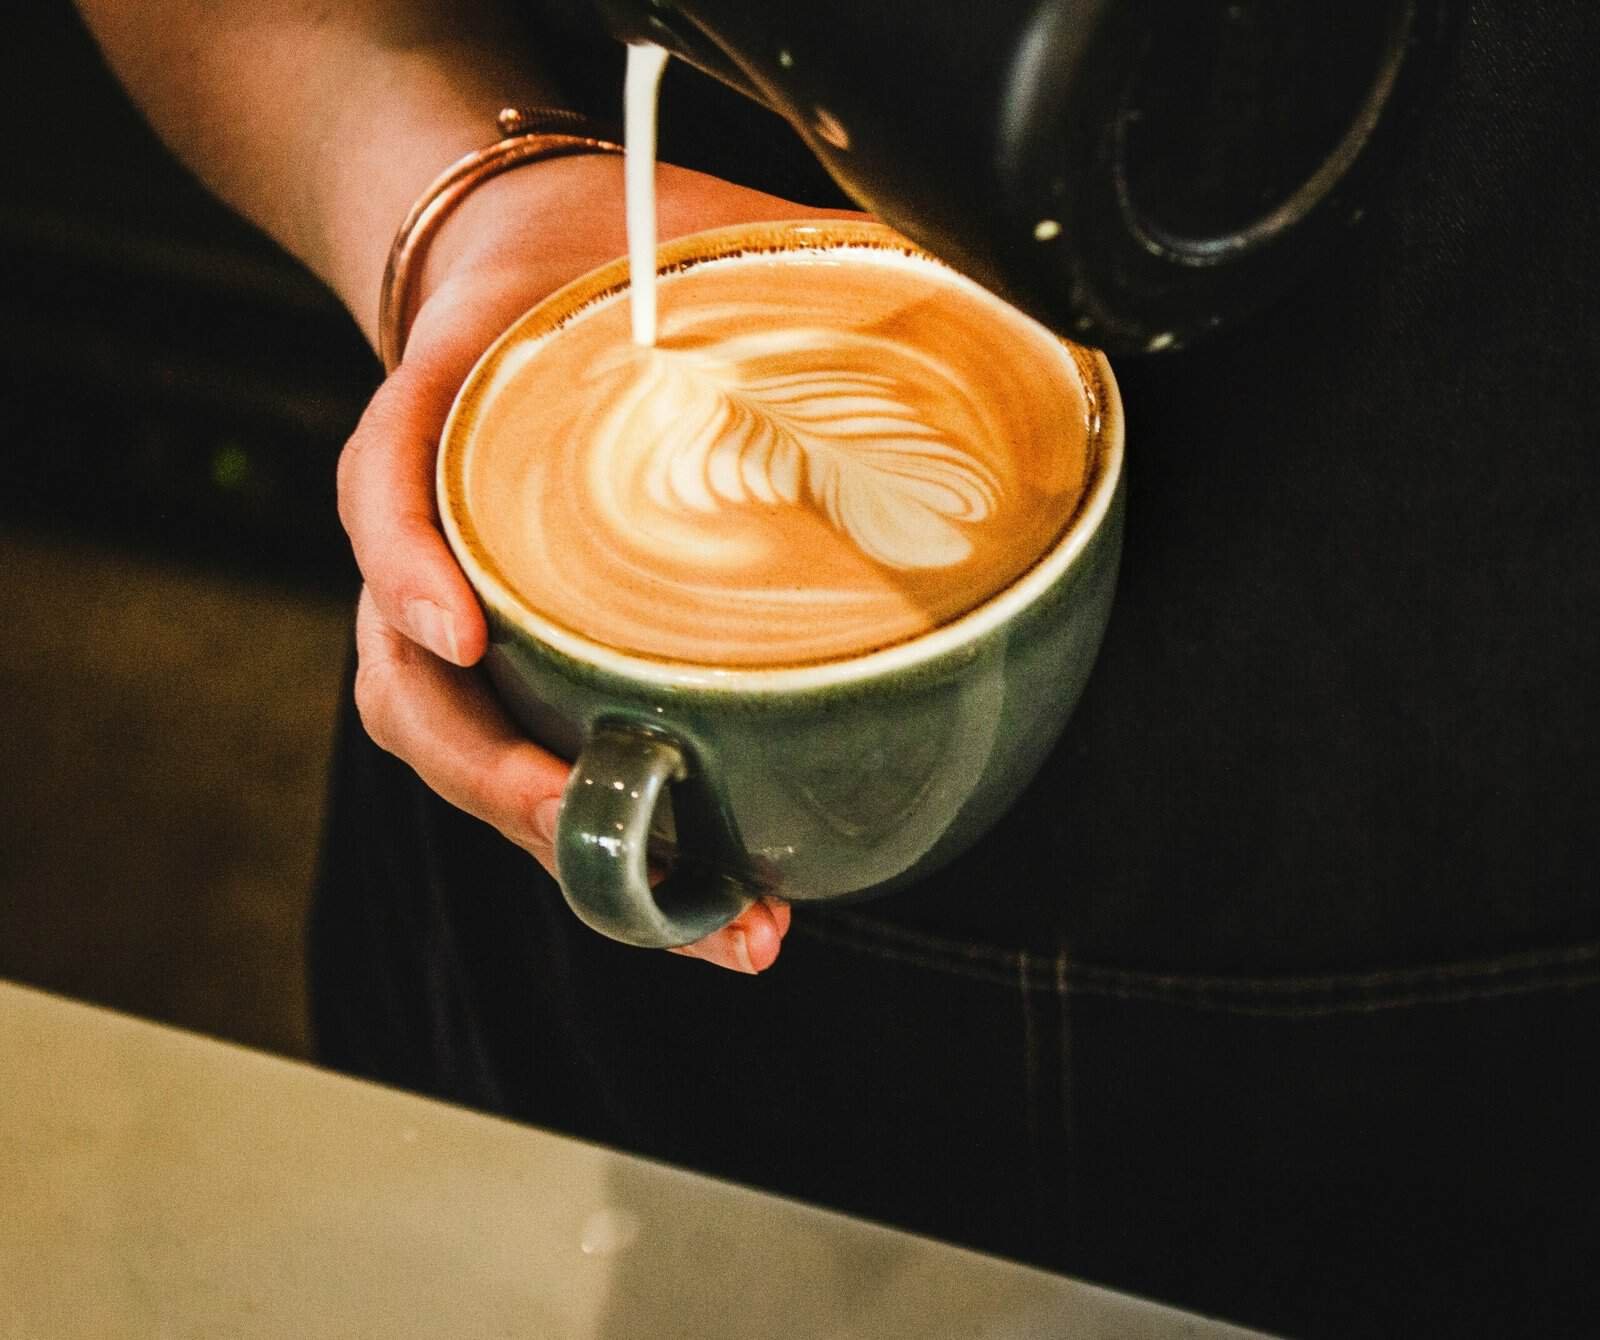
Milk that refuses to foam comes down to three things: the milk itself, the temperature, or the technique. Cold fresh whole milk froths best because its proteins are intact and cold milk gives you time to work before the window closes. Warm milk, old milk, and some plant milks either foam poorly or collapse within seconds.
Foam is protein wrapping around air bubbles. Anything that damages those proteins, or heats them past the point where they hold structure, takes away the thing doing the work. That single idea explains most froth failures.
What Makes Milk Foam in the First Place
Whipping air into milk creates bubbles, and milk proteins stretch around each bubble to form a wall. Fat sits between those walls and gives the foam its texture and stability. Get both working and you get microfoam that holds for minutes.
Protein does the structural work and fat does the mouthfeel. That is why skim milk foams to a large stiff volume that tastes thin, and whole milk foams to a smaller, denser, creamier result. Neither is wrong, and they behave differently enough that switching between them changes your technique.
Once milk passes about 155 to 160 degrees Fahrenheit the proteins denature and stop holding structure. Beyond that point the foam collapses and the milk tastes scalded, which is a common cause of a jug that looked promising and ended up flat.
Your Milk Is Too Warm When You Start
Starting cold matters more than most people realize. Cold milk gives you a longer working window before it reaches the temperature where proteins fail, and that window is where you incorporate air.
Milk that has been sitting out, or a jug that is still warm from the last drink, starts partway through the temperature range and leaves you seconds instead of tens of seconds. Refrigerate the milk, and keep the jug cold too if you make several drinks in a row.
A cold stainless jug also tells you when to stop by feel. When the outside becomes uncomfortable to hold, you are at roughly the right temperature, which is a useful check when you have no thermometer. Jug options are compared in frothing pitcher choices.
You Are Using the Wrong Milk
Whole dairy milk froths most reliably. Skim gives more volume with less stability and a drier texture. Semi-skimmed sits between them and works well for most people.
Ultra-pasteurised milk is the common culprit behind milk that will not foam at all. The high-heat treatment that extends shelf life also alters the proteins, and some ultra-pasteurised products resist foaming no matter what you do. Check the carton, since it is often printed in small type near the date.
Milk near its expiry date foams poorly too. The proteins have started breaking down, and the foam either fails to form or collapses within seconds of stopping.
Plant Milks Behave Differently
Most plant milks lack the protein structure dairy has, so standard versions barely foam. Manufacturers responded with barista editions that add proteins, stabilisers, and sometimes fat specifically to make foam hold.
Oat barista blends are the most consistent performers and behave closest to dairy. Soy has enough natural protein to foam reasonably even in standard form. Almond and rice are the hardest, since both are low in protein and thin in body.
If you have tried repeatedly with a standard plant milk and got nothing, the milk is the answer rather than the technique. Buying a barista version changes the result immediately.
Your Frother Is Dirty
Milk residue dries hard, and it builds up inside steam wands, on whisk attachments, and in the mesh of manual frothers. Dried milk blocks steam holes, unbalances whisks, and adds a stale taste to everything.
Steam wands need purging before and after every use, and wiping while the residue is still soft. Milk left to bake onto a hot wand becomes a scraping job rather than a wiping job.
Automatic frothers with a whisk disc hide residue under the disc where you cannot see it. Removing the whisk and washing separately is part of the routine rather than an occasional deep clean, and the same principle applies across kitchen equipment as covered in deep cleaning a kitchen.
Your Technique Is Introducing Air Too Late
With a steam wand, air goes in at the beginning while the milk is still cold. That is the stretching phase, and it is where the foam volume is created. Once the milk warms past body temperature, adding air produces large bubbles rather than microfoam.
Position the wand tip just under the surface at the start, listen for a gentle tearing sound, and once you have the volume you want, submerge the tip deeper to spin the milk and break the bubbles down. That second phase is texturing rather than aerating.
Large visible bubbles mean too much air went in too late, or the tip sat too high for too long. Tapping the jug on the counter and swirling breaks some of them, and it will not rescue foam that was made wrong.
Jug Size and Fill Level
Milk expands as it foams, and a jug filled past halfway leaves no room for that expansion. The foam hits the rim, spills, and you stop before the texturing phase finishes.
Fill to the bottom of the spout, which on most jugs is around a third to a half. That leaves headroom for the milk to grow and space for the whirlpool that turns bubbles into microfoam.
Jug size matters against the drink size too. Steaming a small amount in a large jug means the wand tip sits too deep to aerate, and steaming a large amount in a small jug overflows. Two jugs cover most households, one for single drinks and one for two.
Frothing Problems by Method
Steam wand
Check the tip is clear, start cold, aerate early, and stop at the point the jug becomes too hot to hold. Blocked steam holes are the most common hardware fault.
Automatic electric frother
These heat and froth on a fixed cycle, so the milk choice matters more than anything you do. Ultra-pasteurised or standard plant milk will fail regardless of the machine. Check the whisk disc is fitted and clean.
Handheld wand frother
Keep the whisk just under the surface and move it around rather than holding it still. Weak batteries produce weak foam, which is worth checking before blaming the milk.
Manual pump frother
Fill no more than a third full, since the milk expands. Pump quickly for around thirty seconds with cold milk, then heat afterwards if you want it warm. Heating first defeats the method.
How to Fix Milk That Will Not Froth
Work through these in order.
Start with cold milk from the fridge in a cold jug. Check the carton for ultra-pasteurised labelling and switch to standard pasteurised whole milk if you find it. Clean the wand, whisk, or mesh properly. Introduce air at the start rather than partway through. Stop when the jug becomes uncomfortable to hold.
Most froth failures resolve at steps one and two, since milk choice and starting temperature account for the majority.
Does Fat Content Matter?
Yes, and not in the way people expect. Higher fat gives denser, creamier, more stable foam with less volume. Lower fat gives more volume with a drier, stiffer texture that collapses faster.
For latte art, whole milk is easier because the microfoam is dense enough to pour with control. For a cappuccino with a thick head, semi-skimmed or skim produces the stiff foam that sits up. Neither is a failure, and choosing the wrong one for the drink you want feels like one.
A Quick Troubleshooting Order
Cold milk, cold jug. Standard pasteurised rather than ultra-pasteurised. Whole or semi-skimmed rather than a standard plant milk. Clean equipment. Air in at the start. Stop at the right temperature.
Six checks, and the first three eliminate most failures before technique enters the picture.
Foam Versus Microfoam
Dry foam is stiff, bubbly, and sits on top of a drink as a separate layer. It suits a traditional cappuccino and it pours badly. Microfoam is dense, glossy, and integrated, closer to wet paint than to bubble bath, and it is what latte art requires.
The difference is how the air was incorporated and how long the milk was textured afterwards. Both start the same way, and microfoam gets the second phase where the tip goes deeper and spins the milk until the bubbles disappear into the body. Equipment that can produce both is covered in frother options.
Related Reading
- frothers across price ranges
- pitchers sized for steaming
- machines with usable steam wands
- machines that froth automatically
- which machine suits milk drinks
- cups shaped for milk drinks
Frequently Asked Questions
Why does my milk foam collapse straight away?
Because the milk got too hot in most cases, which denatures the proteins holding the bubbles together, or because the milk is near its expiry date. Ultra-pasteurised milk also produces foam that fails quickly.
What milk froths best?
Cold whole dairy milk that is standard pasteurised rather than ultra-pasteurised. For plant milk, a barista-formulated oat blend performs closest to dairy, since it contains added protein and stabilisers.
Can I froth milk that has already been heated?
Poorly. Starting cold gives you a working window before the proteins fail, and pre-heated milk starts partway through that window. Reheated milk foams worse again.
Why won’t almond milk froth?
It contains little protein and has a thin body, so there is not much to form bubble walls. Barista versions add protein and stabilisers for exactly this reason and work considerably better.
What temperature should frothed milk reach?
Around 140 to 155 degrees Fahrenheit for most drinks. Past roughly 160 the proteins denature, the foam collapses, and the milk starts tasting scalded.
Does a dirty steam wand affect froth?
Yes. Dried milk blocks the steam holes, which weakens and unbalances the steam flow. Purge and wipe the wand immediately after every use, before the residue dries.
Equipment sets the ceiling on technique. the wider coffee setup covers the other components.
