
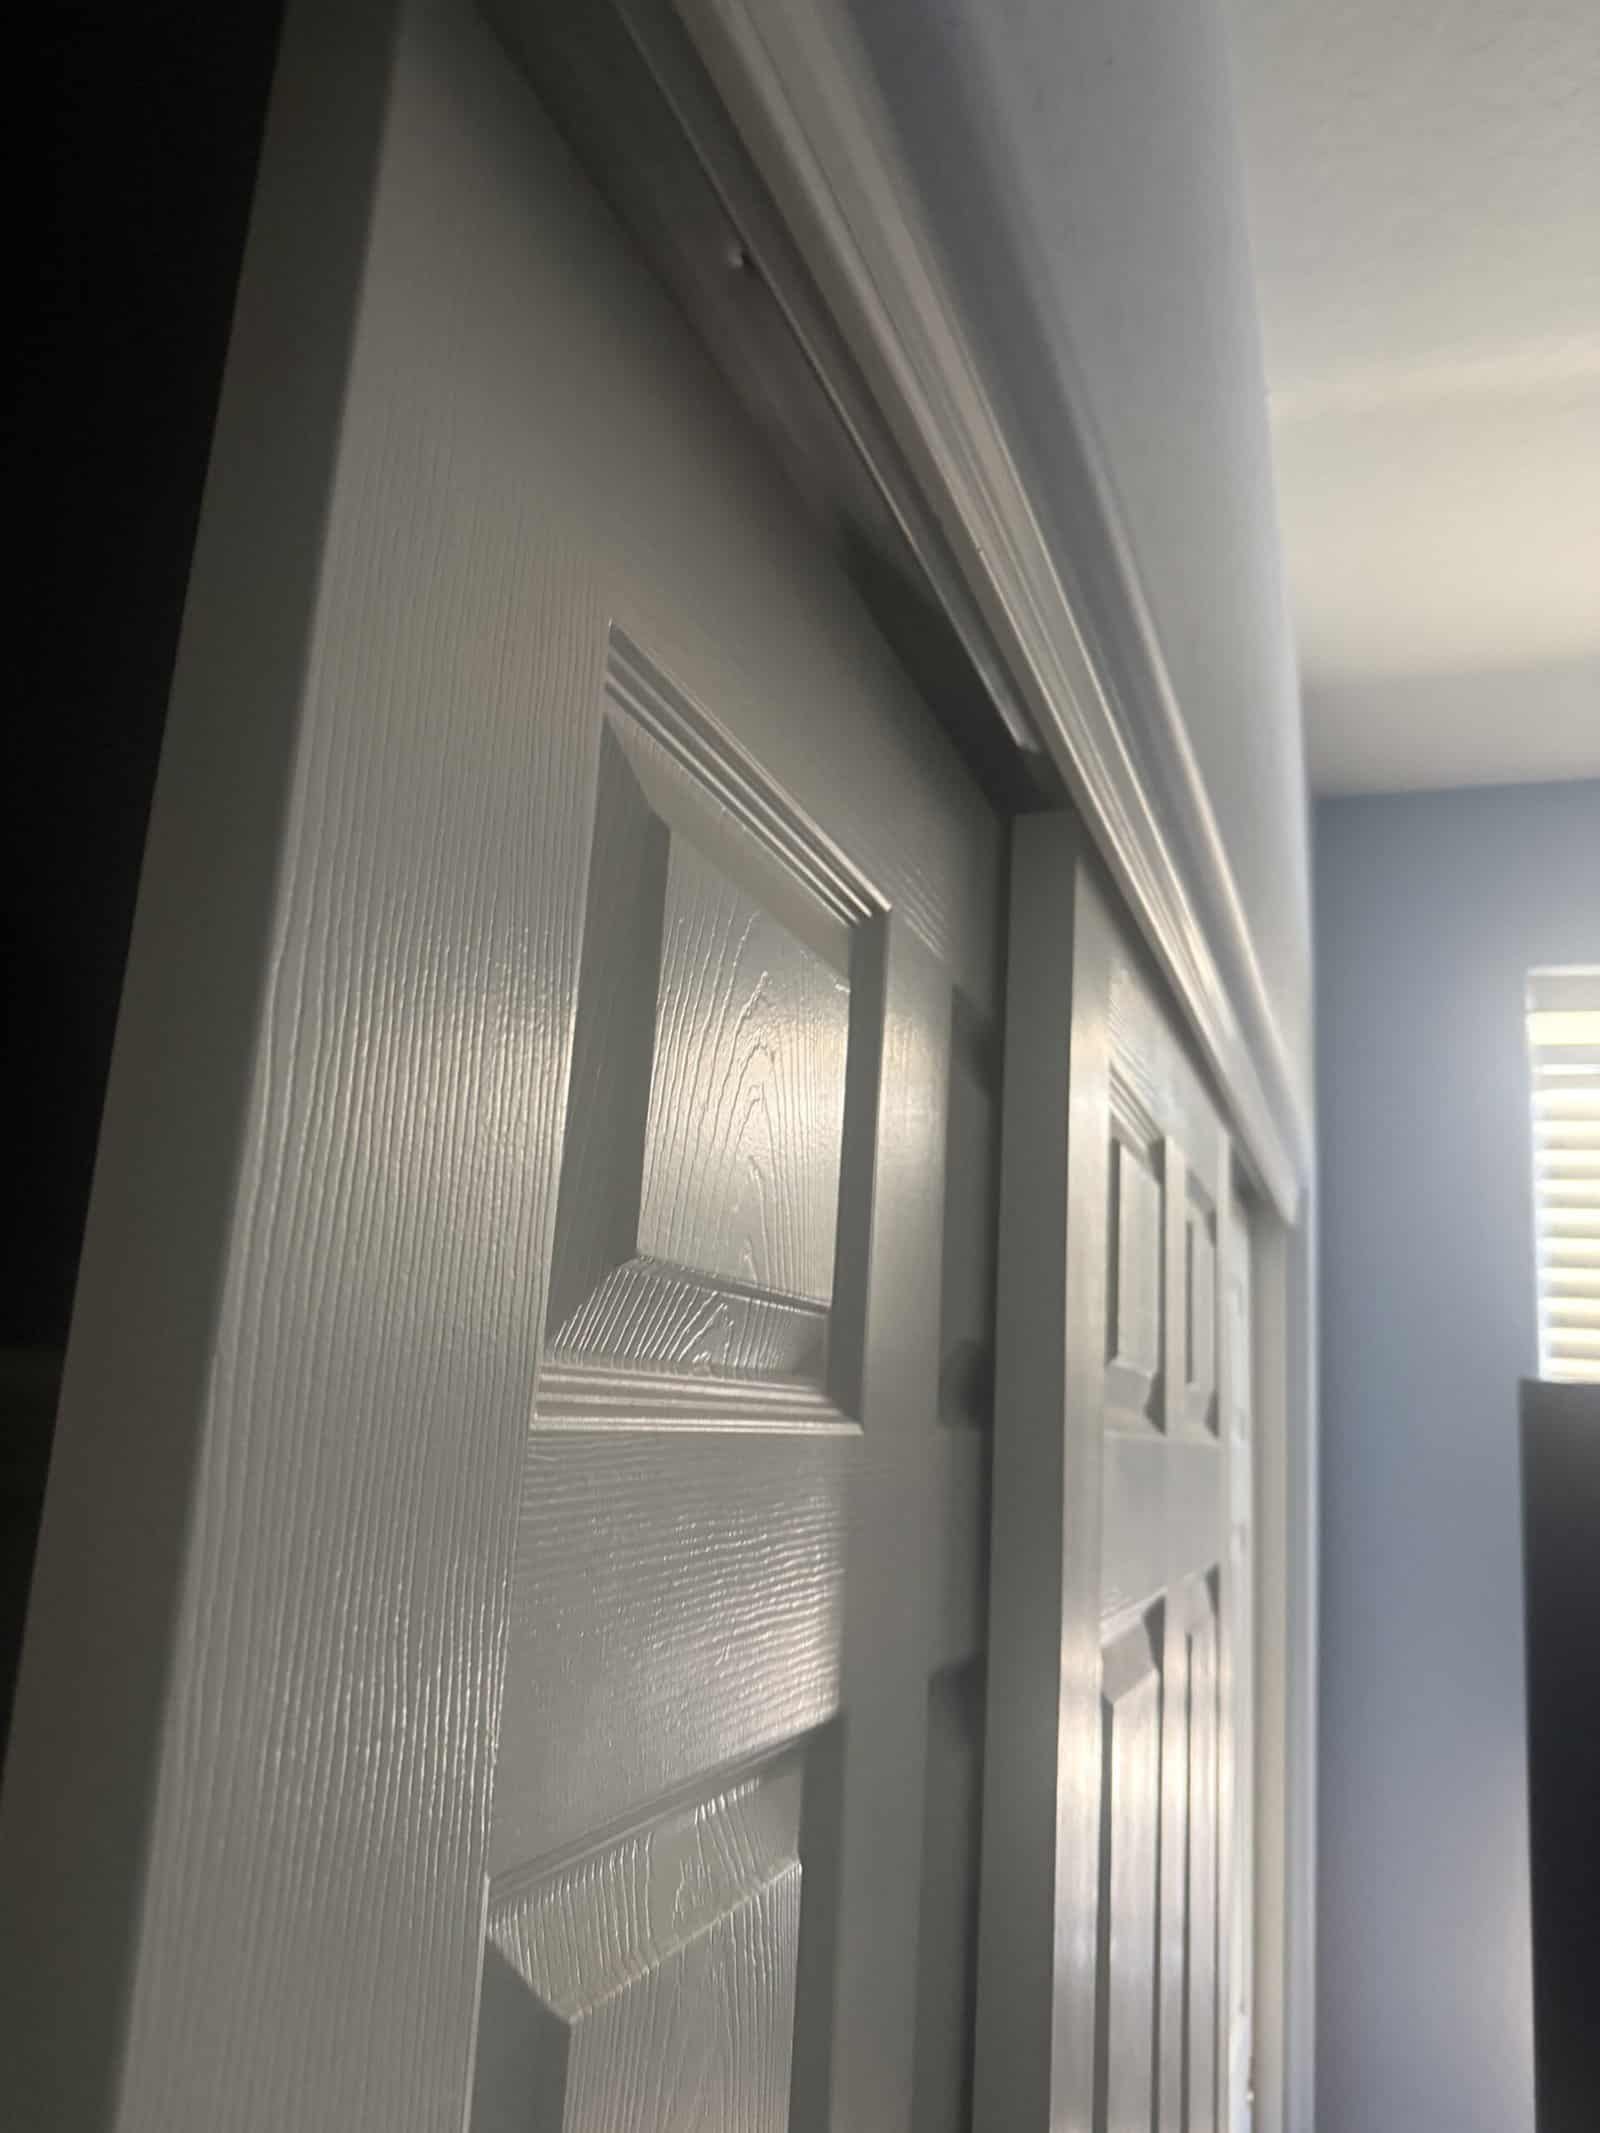
Removing a sliding closet door is a lift-and-tilt motion rather than an unscrewing job. Top-hung doors carry their weight on rollers running in a rail, so lifting until those rollers clear the rail is the whole operation.
I have done this on mine. The door came off its rail and I could not work the rollers back on in place, so taking it out entirely was the only way to reseat it. Our note on fixing a door off its track covers why it happens.
Quick Answer
Lift the door straight up until the rollers clear the rail, swing the bottom out toward you, then lower it away from the opening. Front door first on overlapping panels.
What You Are Working With
| Component | Role in removal |
|---|---|
| Top rail | Carries all the weight, rollers ride inside |
| Rollers | Must clear the rail before the door frees |
| Bottom guide | No weight, but the door has to clear it |
| Roller height screws | Lowering them creates clearance if needed |
| Overlap order | Front panels come out before rear ones |
| Door weight | Awkward rather than heavy on plain panels |
Work Out the Order First
Sliding closet doors overlap so they can bypass each other, which means they sit in separate channels of the rail at different depths.
The door in the front channel has nothing in front of it and comes out first. Trying to remove a rear panel while a front one is still hanging simply does not work.
On a three-panel setup that usually means working from the outermost door inward, and the order becomes obvious once you look at which panel sits closest to you.
Sliding each door to one end before starting gives you room to lift, since a door in the middle of the opening has panels on both sides.
Getting this right before lifting saves the fight that comes from trying to remove the wrong one. Our roundup of closet organizers covers what is behind them.
The Removal Itself
Slide the door clear
Move it to the end of the rail where nothing blocks the lift.
Lift straight up
Enough for the rollers to clear the top of the rail channel.
Swing the bottom toward you
The bottom has to clear the floor guide.
Lower it away
Set it down flat rather than leaning it where it can fall.
When It Will Not Lift Far Enough
Some doors sit with very little clearance above the rollers, and lifting alone does not free them.
Most top-hung rollers have a height adjustment screw on the bracket, and backing that off lowers the door relative to the rollers, which creates the clearance you need.
Doing that on both brackets of the same door keeps it level while it comes down, and it wants doing in small increments.
Remember what you changed, because reinstalling means putting that adjustment back to get the door hanging square again.
Carpet is the other common obstruction, since a door that cleared the floor when installed may not clear new flooring. Our note on bifold versus sliding doors covers floor clearance.
Handling the Door Safely
Plain panel doors are awkward more than heavy, and the awkwardness is about size rather than weight.
The lift happens at head height with your arms extended, which is the position where a light object feels considerably heavier than it is.
A second person makes it easier and removes the moment where you are holding a freed door with nowhere to put it.
Mirrored doors are a different matter entirely, since the glass adds substantial weight and flexing the panel risks cracking it. Those want two people as a rule rather than a suggestion.
Clearing the floor in front of the closet before starting gives you somewhere to set the door down immediately.
Putting It Back
Reinstalling is the same motion reversed, and the part people get wrong is trying to lift the whole door into position and then find the rail.
Lining the rollers up with the rail channel before you lift is what makes it seat cleanly, since you can see what you are doing at chest height and cannot at head height.
Angle the door with the bottom out, lift until the rollers reach the channel, guide them in, then swing the bottom back and lower it onto the floor guide.
Rear panels go back first, which is the reverse of the removal order.
That reseating is exactly why I took mine out. Working the rollers back on in place was not happening, and a full removal made it straightforward. Our roundup of cabinet organizers covers the interior.
Check These While It Is Out
A door out of the opening gives you access to things you cannot reach otherwise, and it is worth five minutes.
Rollers should spin freely rather than dragging, and a seized or flat-spotted one is the reason a door needs pushing harder than it should.
The rail channel is easier to clean with the door out, and accumulated debris in there causes exactly the derailment you were fixing.
Screws holding the rail to the header work loose over years, and a loose rail sags slightly, which changes how the rollers ride.
Bottom guides are also easier to inspect and replace with nothing hanging over them. Our note on organizing storage covers the wider project.
Doors That Are Not Top-Hung
A small number of sliding closet doors run on a bottom track instead, carrying their weight on floor rollers with the top only guided.
Those come out the opposite way. You tilt the top away from the opening first, then lift the door off the floor track, which reverses everything above.
Telling them apart takes one look. If there is a substantial metal track on the floor with grooves the door sits in, it is bottom-rolling. A thin plastic guide means top-hung.
Bypass doors on a bottom track are less common in closets and more common in older installations and some patio applications.
Getting this wrong is the reason someone lifts a door repeatedly and cannot understand why it will not free, since a bottom-rolling door has no clearance above to lift into. Our note on key and mail organizers covers both designs.
Storing Doors You Have Removed
Flat is safer than leaning
A leaning door slides and falls.
Keep them out of heat
Warping is a real problem on hollow-core panels.
Protect the faces
Stacking bare panels scratches them.
Label the order
Which panel went in which channel.
Common Mistakes to Avoid
Starting with the wrong panel
Front panels come out first. A rear one will not free while a front one hangs.
Trying to find the rail at head height
Line the rollers up before lifting rather than after.
Forgetting the height adjustment
If you backed the screws off to remove it, set them back to hang it square.
Leaning a removed door against a wall
Lay it flat. Leaning panels slide and fall.
Recommended Reading
See our note on organizing an entryway, our roundup of entryway storage, our roundup of console tables with storage, and a roundup of bathroom organizers.
Removing Sliding Closet Doors FAQ
How do you remove a sliding closet door?
Lift it straight up until the rollers clear the rail, swing the bottom out toward you, then lower it away from the opening.
Have you done this?
Yes. Mine came off its rail and I could not work the rollers back on in place, so taking the door out entirely was the only way to reseat it.
Which door comes out first?
The one in the front channel. Panels overlap so they can bypass each other, and a rear panel will not free while a front one is still hanging.
What if it will not lift high enough?
Back off the height adjustment screws on the roller brackets to lower the door relative to the rollers. Set them back when you reinstall.
Do I need tools?
Usually not for removal. A screwdriver only if you need to adjust the roller height or replace a bottom guide.
Do I need a second person?
It helps considerably, and for mirrored doors it is not optional. The lift happens at head height with your arms extended.
How do I put it back?
Line the rollers up with the rail channel before lifting rather than after. Rear panels go back first, which reverses the removal order.
What should I check while it is out?
Rollers spinning freely, debris in the rail channel, screws holding the rail to the header, and whether the bottom guides are intact.
