
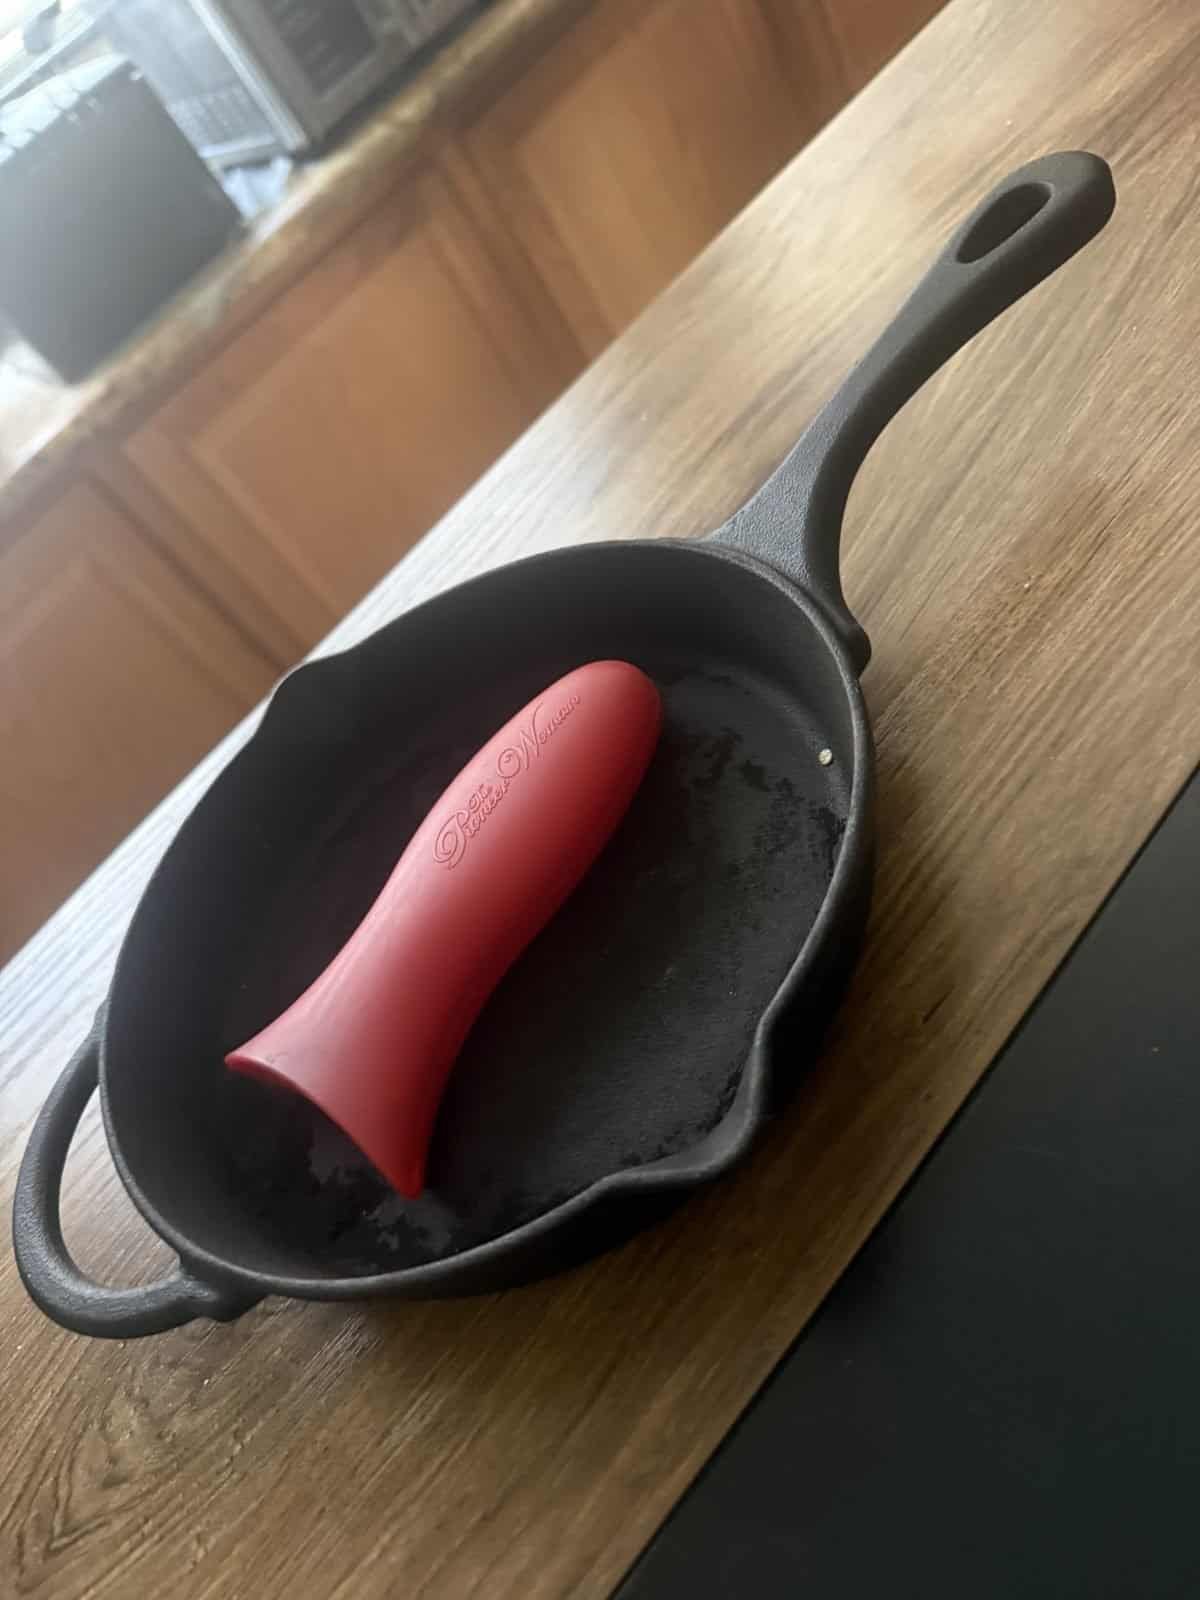
For the foundational guidance behind these picks, see our complete guide to bare and enameled cast iron.
Seasoning is nothing more than baked-on oil, and that simple fact is the whole secret to cast iron that cooks like nonstick and lasts for decades. To season a cast iron skillet, wipe it with a whisper-thin layer of oil and bake it upside down past the oil’s smoke point, then repeat for a few thin layers. Each round leaves behind a hard, slick coating bonded to the metal, and once it is built, keeping it up is easy. I maintain my own cast iron with the everyday version of this, a thin wipe of oil after each use, and the surface has stayed in good, usable shape because of it. When a pan is grimy or rusty first, start with our guide to cleaning a cast iron skillet.
Quick Verdict: Season cast iron by baking on thin layers of oil. Clean and fully dry the pan, rub in a tiny amount of a high smoke point oil, wipe off nearly all of it so it looks dry, then bake upside down at around 450 to 500 degrees for an hour and let it cool in the oven. Two or three thin layers build a solid base, and a light wipe of oil after each use keeps it going.
Why Trust This Guide: The process here is the standard, widely used method, and the upkeep half is what I actually do with my own cast iron. Drying it well and rubbing in a thin coat of oil after use has kept mine in good, usable shape over time, which is the honest test of whether everyday seasoning maintenance works. Nothing is described as done that was not.
Key Takeaways:
- cast iron griddles
- Seasoning is thin layers of oil baked past their smoke point until they harden onto the metal.
- The single most common mistake is using too much oil, which bakes on sticky and gummy.
- Bake the pan upside down so excess oil drips off and the coating stays even.
- Two or three thin layers build a durable base; more layers deepen it over time.
- A light wipe of oil after each use is what keeps the seasoning going day to day.
Why Seasoning a Cast Iron Skillet Matters
Seasoning is what turns raw, sticky iron into the slick, dark, naturally nonstick surface cast iron is loved for, and it is also the pan’s armor against rust. The layer is not a coating sitting on top like nonstick spray; it is oil that has polymerized, chemically bonding to the metal under heat into a hard, smooth film. That is why a well-seasoned pan releases eggs cleanly and only improves with cooking, and why cast iron lasts for generations. Build it once, maintain it lightly, and the pan rewards you for years. If your seasoning ever turns tacky, here is how to fix sticky cast iron seasoning.
What You Need Before You Start
You need very little: a clean, dry cast iron skillet, a high smoke point oil such as grapeseed, canola, vegetable, or flaxseed, a stack of lint-free cloths or paper towels, and an oven. Keep some foil handy for the bottom rack to catch drips, and make sure your kitchen is ventilated, since baking oil past its smoke point produces some smoke. That is the entire kit, whether you are seasoning a full-size pan or the little ones from our mini cast iron skillets guide.
How to Season a Cast Iron Skillet Step by Step
The whole process is hands-off once the pan is in the oven, taking a little over an hour per layer. Work through it in order.
- Start with a clean, dry pan. If the pan is new or grimy, wash it well, and if it is rusty, scrub the rust back to bare metal first. The surface must be clean and completely dry before oil goes on.
- Heat the pan to dry it fully. Warm the skillet on the stove or in a low oven for a few minutes to drive off any hidden moisture and open the metal’s pores, then let it cool just enough to handle.
- Apply a thin layer of oil, then wipe almost all of it off. Rub a small amount of oil over every surface, inside, outside, and the handle, then wipe it back with a clean cloth until the pan looks nearly dry. Too much oil is the number one cause of a sticky finish.
- Bake it upside down past the smoke point. Set the pan upside down on the top rack, with foil below to catch drips, and bake at about 450 to 500 degrees for an hour. The heat polymerizes the oil into a hard layer, and baking it inverted keeps the coating even.
- Cool it, then repeat for more layers. Turn off the oven and let the pan cool inside. Repeat the oil-wipe-bake cycle two or three times for a solid base, adding more layers over time for a deeper finish.
Maintaining the Seasoning Day to Day
Once the base is built, keeping cast iron seasoned is genuinely low effort, and this is the part I do with my own pan. After cooking, clean it while warm, dry it completely, and rub in a thin wipe of oil before putting it away. That small habit after each use is what keeps the surface slick and protected, and in my experience it has held the seasoning in good, usable shape without ever needing to strip the pan and start over. Cooking fatty foods like bacon actually helps, since every use adds a little to the layer. The cleaning half of that routine is the same clean-while-warm, dry-fully, oil-lightly approach.
When to Re-Season Instead of Just Maintaining
Everyday maintenance handles most pans, but sometimes a full re-season is the right move. Strip and re-season when the surface has rusted, when food suddenly starts sticking badly across the whole pan, or when the seasoning looks patchy, flaky, or dull rather than evenly dark. In those cases, take the pan back to clean metal and rebuild the layers from step one. A pan that is simply a little dull or thin does not need stripping; another light oil-and-bake layer, or just steady use, will bring it back.
Common Seasoning Mistakes and How to Avoid Them
Using too much oil
A thick coat of oil bakes into a sticky, gummy, sometimes streaky mess instead of a smooth layer. Wipe the pan until it looks almost dry before it goes in the oven, since the thinnest possible film is what hardens cleanly.
Baking below the oil’s smoke point
If the oven is not hot enough, the oil never fully polymerizes and stays tacky. Bake above the oil’s smoke point, generally around 450 to 500 degrees, so the layer sets hard.
Skipping the drying step
Oiling a pan that is even slightly damp traps moisture under the seasoning and invites rust. Heat the pan dry before oiling, and never start from a wet surface.
Washing with a long soak, then air-drying
Soaking and letting cast iron drip-dry strips and undermines the seasoning you built. Clean it promptly, dry it fully with heat, and oil it lightly instead.
Recommended Reading:
- Cast iron skillets, if you are choosing a pan to season.
- Storing cast iron cookware, to protect the seasoning between uses.
- Cast iron vs carbon steel, another pan that seasons the same way.
How to Season a Cast Iron Skillet FAQ
How do I know if my cast iron skillet is seasoned enough?
A well-seasoned pan looks evenly dark and slightly glossy, feels smooth rather than tacky, and releases a fried egg with little sticking. If food grabs across the whole surface or the finish looks patchy and dull, it needs more layers or a re-season. Seasoning also keeps improving the more you cook.
What is the best oil for seasoning cast iron?
Any neutral oil with a high smoke point works well, including grapeseed, canola, vegetable, and sunflower oil. Flaxseed oil hardens into a very durable layer but can flake if applied too thickly. Whatever you choose, the key is a very thin coat rather than the specific oil.
Can I season a cast iron skillet on the stovetop instead of the oven?
You can build light maintenance layers on the stovetop by heating a thinly oiled pan until it stops smoking, which is handy for touch-ups. For a full, even seasoning, the oven is better because it heats the entire pan uniformly, including the outside and handle. The handle comes out of the oven as hot as the pan, which is what our silicone handle cover picks deal with.
Why is my cast iron sticky after seasoning?
Stickiness almost always means too much oil, too low a temperature, or not enough baking time, so the oil never fully hardened. Wipe the pan nearly dry before baking and use a hot enough oven. To fix a tacky pan, bake it again at a higher temperature to finish polymerizing the layer.
How often should I season my cast iron skillet?
With a thin wipe of oil after each use, most pans rarely need a full re-season. Do a deliberate seasoning session when you notice sticking, dullness, or rust, which for a regularly used pan might be once or twice a year at most. Everyday upkeep does the heavy lifting.
What do I do if my cast iron skillet rusts?
Scrub the rust off with steel wool or a coarse pad until you reach clean metal, wash and dry the pan thoroughly, then re-season it from scratch to rebuild the protective layer. Rust comes from leftover moisture, so drying completely and oiling lightly is what prevents it returning.
Can I cook acidic foods in a seasoned cast iron skillet?
A well-established seasoning handles the occasional tomato sauce or squeeze of lemon fine, but long simmers of very acidic foods can wear the layer and pick up a metallic taste. Keep acidic cooking brief on bare cast iron, or reach for enameled cast iron for those dishes.
Is the dishwasher ever okay for cast iron?
No. Dishwasher detergent and the long wet cycle strip seasoning and cause rust. Cast iron should always be hand washed, dried completely, and lightly oiled, which is exactly the routine that keeps the seasoning intact.
For the wider kit, which accessories are worth owning.
This guide is part of the full guide to choosing the right cookware for your kitchen.
Recommended Reading
