
Ground meat sticks because raw protein bonds chemically to hot metal, and it lets go by itself once a crust forms, so almost every sticking problem is really a problem of moving it too soon. Learning how to brown ground meat without sticking is mostly about heat, oil and patience rather than about buying a different pan. The pan does matter at the margins, and our comparison of cast iron versus nonstick covers where.
| Why it stuck | What was happening | Fix |
|---|---|---|
| Pan was not hot enough | Meat sat and released water instead of searing | Preheat until oil shimmers |
| Pan was too hot | Proteins seized and bonded before fat rendered | Medium, not high |
| Not enough fat | Nothing between protein and metal | A light film of oil, even with fatty meat |
| Stirred too early | Crust had not formed, so it tore | Leave it three to four minutes |
| Pan was crowded | Meat steamed in its own liquid | Single layer, or two batches |
| Meat was wet or frozen | Water boiled off before browning started | Thaw fully, pat dry |
Quick Answer
Preheat the pan properly, add a light film of oil, spread the meat in one layer, and then do not touch it for three or four minutes. Meat releases itself when a crust forms, so the urge to stir immediately is what causes most sticking. Medium heat works better than high, because high heat seizes the surface before the fat has a chance to render.
Why Meat Sticks in the First Place
Proteins in raw meat form bonds with metal the moment they hit a hot surface. That bond is real chemistry, not a coating failure, and it happens in every pan including nonstick.
The bond breaks as the surface dehydrates and browns. A properly formed crust separates from the metal on its own, which is why patient meat lifts cleanly and impatient meat tears.
So the question is not how to prevent the bond. It is how to get through it fast enough that a crust forms before anything welds itself down.
Fat is what buys you that time. A film of oil sits between protein and metal and conducts heat evenly across the contact surface.
Heat It Properly, Then Do Not Rush
Put the pan on before you do anything else and let it come up to temperature. Heavy pans in particular heat slowly and unevenly at first, then hold steady once they arrive.
Add oil and wait for it to shimmer and thin out across the surface. That shimmer is the visual signal that the pan is ready.
Then spread the meat in a single layer and step away. Three to four minutes is usually enough for a crust, and stirring at ninety seconds is the single most common mistake.
Medium heat is the target. High heat sounds faster but seizes the outside of the meat before the internal fat renders, which gives you a gray crumbly result and a pan that grabs.
How I Do It
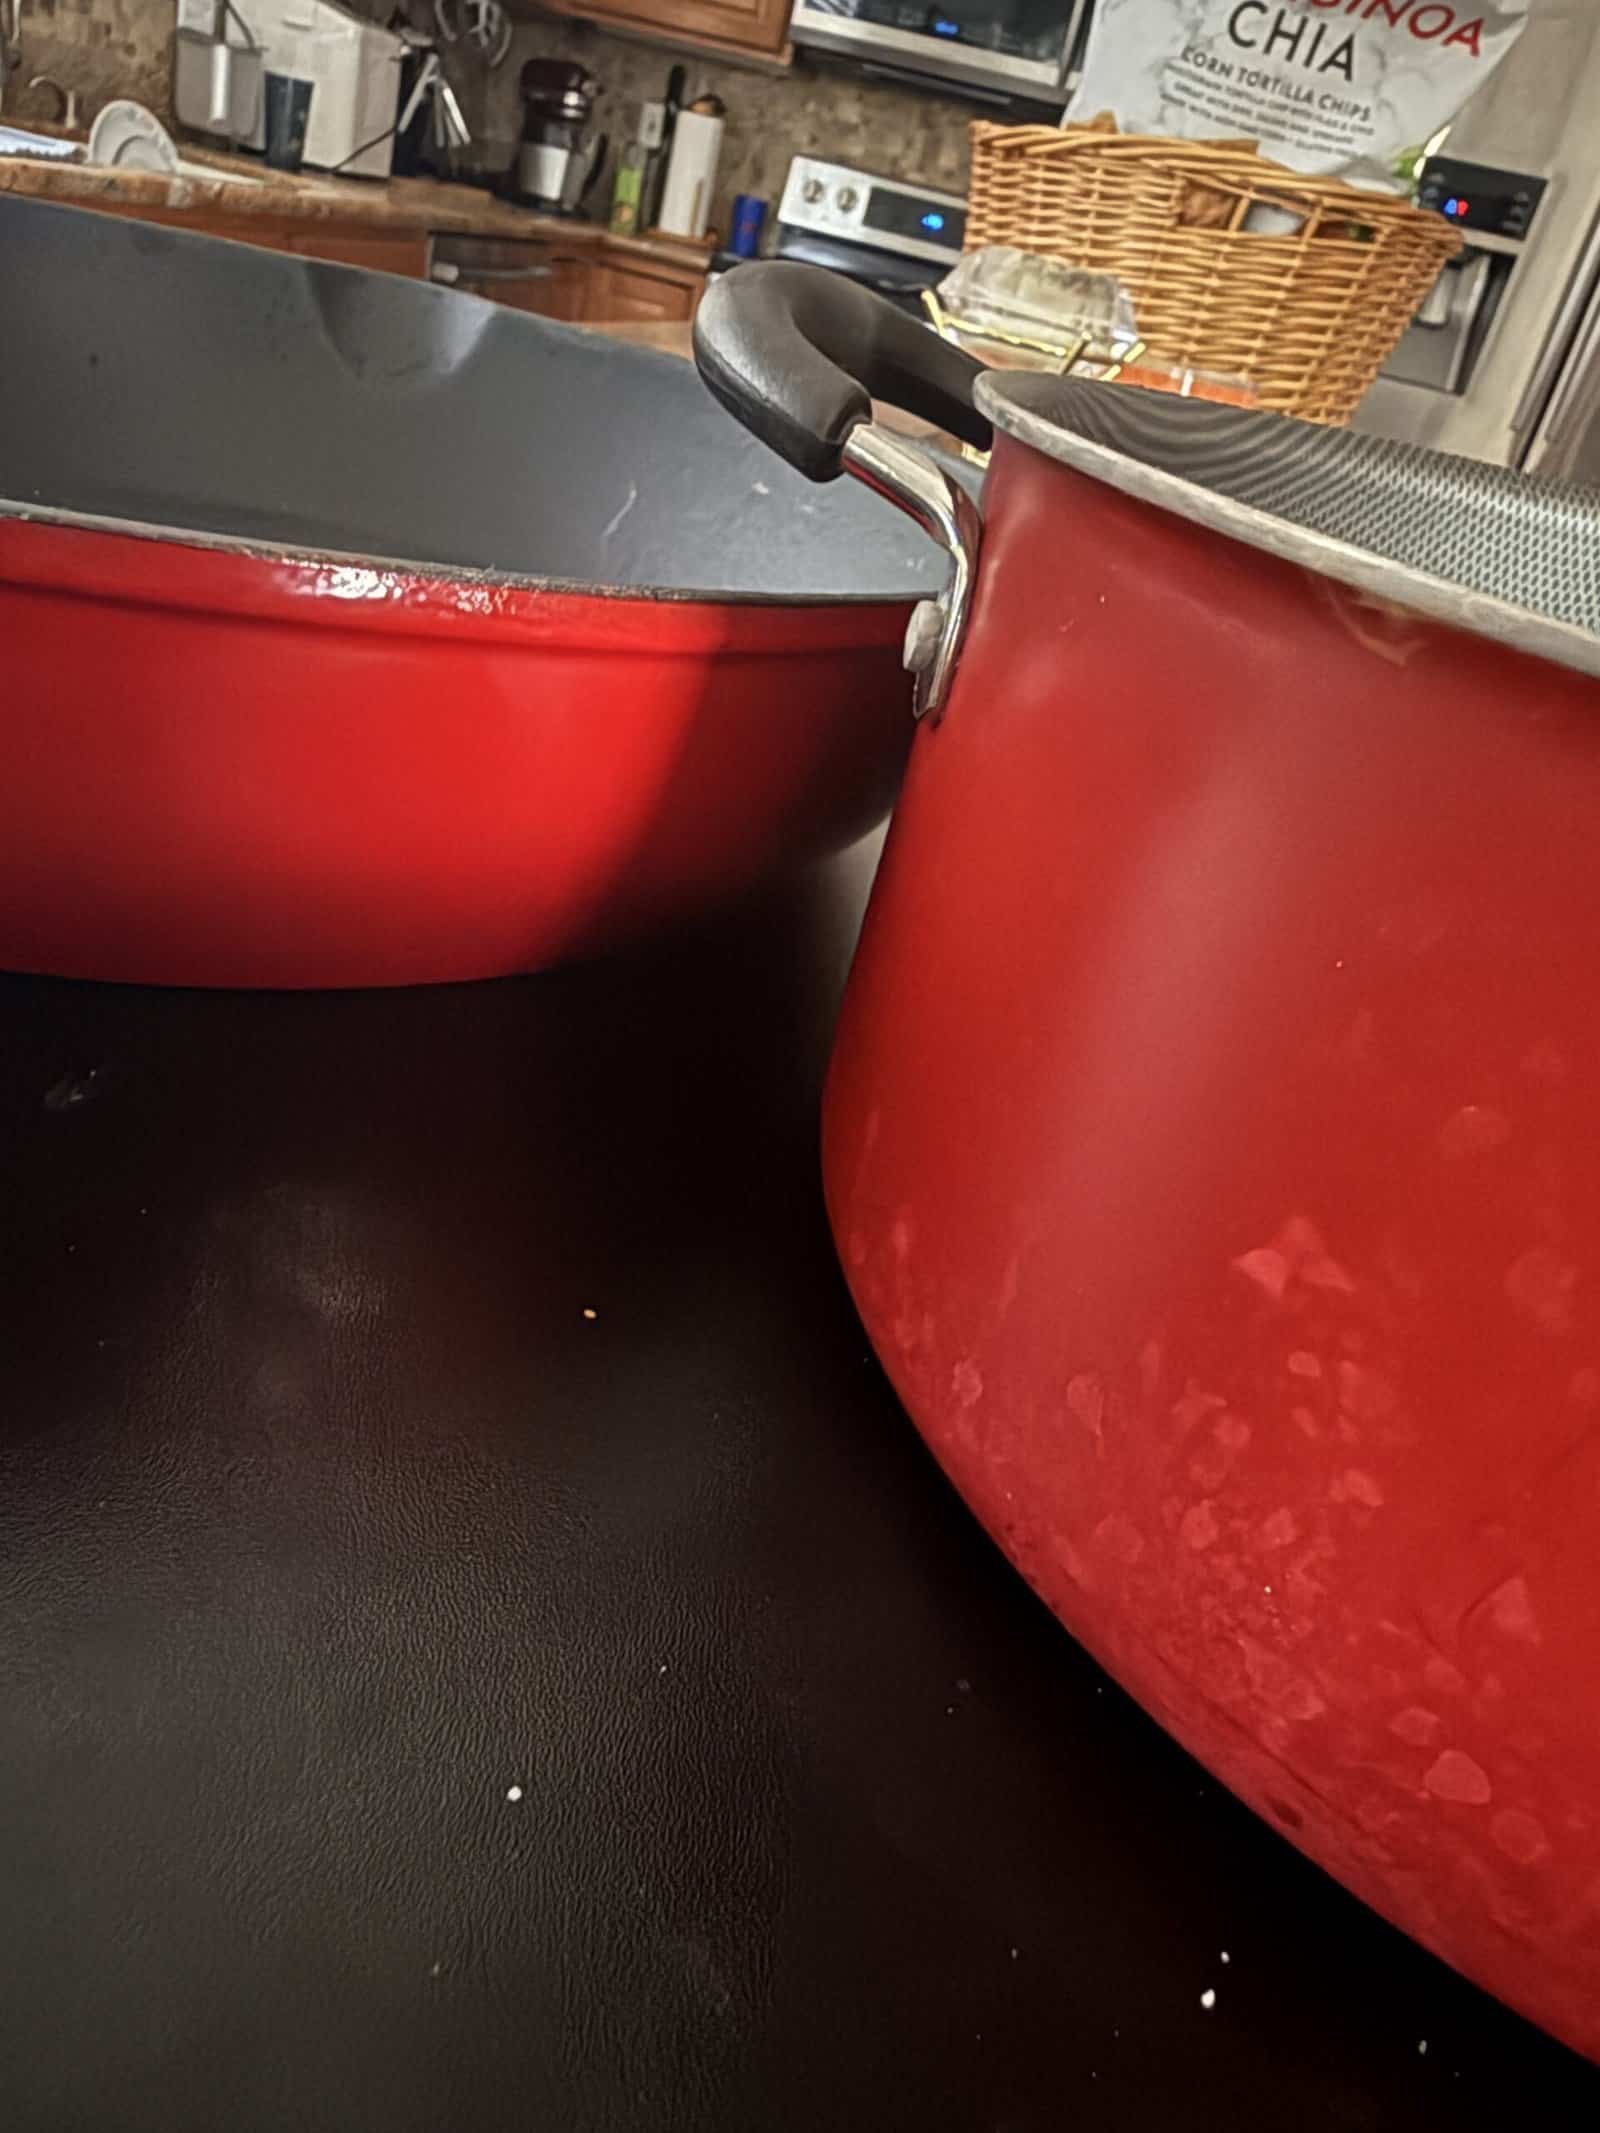
Most of my browning happens in two pans. One is a coated pot with a non-stick surface over a lighter metal, and the other is an enameled cast iron braiser with a wide flat bottom.
The routine is the same in both. A light oil, medium heat, meat spread across the bottom in a single layer.
What goes in varies more than people would guess. Hamburger, taco meat, diced chicken and sausage for grinders all get browned this way.
The honest part is that it sticks occasionally. Not often and not badly, but it happens, and I try to do what I can about it rather than pretending there is a technique that removes the possibility entirely. Enough oil, enough preheat and leaving it alone handles it most of the time.
The wide flat bottom is what makes the single layer practical. In a deeper or narrower pan the same amount of meat would need two batches, and the second batch is always the worse one.
My experience here covers coated and enameled surfaces on a stovetop. Bare cast iron and stainless behave differently, and what follows on those comes from research rather than from my own browning.
Crowding Is the Other Big Cause
A crowded pan drops in temperature the instant the meat goes in. Instead of searing, the meat releases water, and it sits in that water and steams.
Steamed meat never forms a crust, so it never releases cleanly. It also tastes flatter, because browning is where most of the flavor comes from.
The test is simple. If you cannot see pan floor between the pieces, it is too much meat.
Two batches take four minutes longer and produce a noticeably better result. A wider pan avoids the choice entirely, which is a real argument for shallow wide cookware, as our roundup of braisers covers.
Pan Surface Changes the Odds
Non-stick coatings are the most forgiving, and they are the reason many people never think about this at all. The trade is that coatings dislike high heat and wear out, so they suit medium-heat browning rather than aggressive searing.
Enameled cast iron is glass fused to iron, so it is not non-stick despite looking smooth. It grips more than people expect and rewards a proper preheat, but it needs no seasoning and cleans easily. Our guide to enameled cast iron cookware goes into the surface.
Bare cast iron is superb once seasoned and unforgiving before that. A well-established seasoning layer behaves close to non-stick, which is why seasoning a cast iron skillet is worth doing properly.
Stainless steel sticks the most and browns the best. It is the choice when you want fond on the bottom of the pan to build a sauce from.
Fat, Moisture and the Meat Itself
Leaner ground meat sticks more, because there is less rendered fat to work with. Ninety-three percent lean beef and ground turkey both need more added oil than a fattier grind does.
Wet meat is the other problem. Water has to boil off before the surface can reach browning temperature, so anything straight from a package benefits from a pat with paper towel.
Partially frozen meat is worse still. It releases a large amount of water into the pan, and the whole batch ends up simmering.
Salting early draws moisture to the surface, so salt after the crust forms rather than before it.
If It Sticks Anyway
Leave it. Meat that is stuck is usually meat that has not finished forming a crust, and another minute often frees it on its own.
If it is genuinely welded, add a splash of water, stock or wine and scrape. The liquid dissolves the bond, and the browned bits that lift off are flavor rather than damage.
Never attack enamel or a coating with metal. A wooden or silicone tool handles everything a spatula needs to do here, and our guide to cleaning a Dutch oven covers the aftermath on enamel.
Worth reading next: what to cook in a Dutch oven if a coated pot is your main browning pan, what to cook in a cast iron skillet for the bare iron side, and Dutch ovens if you are shopping.
Browning Ground Meat FAQ
Why does ground meat stick to the pan?
Raw proteins bond to hot metal on contact, and that bond only breaks once the surface browns and dehydrates. Meat moved before a crust forms tears and leaves protein behind. Insufficient preheating, too little fat and a crowded pan all make it worse.
Should I use oil if the meat is fatty?
Yes, a light film. Rendered fat only appears after the meat has been in the pan for a while, so the first minute has nothing protecting the surface. Even eighty percent lean beef browns better with a small amount of oil to start.
What heat should I brown ground meat on?
Medium. High heat seizes the outside before internal fat renders, which produces a gray crumbly texture and more sticking, not less. Medium gives the fat time to render and the crust time to form.
How long before I stir ground meat?
Three to four minutes for the first side. The meat tells you when it is ready by releasing from the pan, so if it resists, it needs longer. Breaking it up too early is the most common cause of a stuck, torn batch.
Does ground meat stick less in nonstick pans?
Considerably less, which is why they are popular for exactly this job. The trade is that coatings do not like the high heat that produces the deepest browning, and they wear out over years in a way cast iron does not.
Should I drain the fat while browning?
Drain after browning, not during. Fat in the pan is doing useful work while the meat cooks, and removing it early leaves the surface bare. Tip it off once the meat is browned and before any liquid goes in.
Why is my ground meat gray instead of brown?
It steamed rather than seared, usually from crowding, a cold pan, or wet meat. Water boiling off keeps the surface at boiling temperature, which is far below the range where browning happens. Use a wider pan or split it into two batches.
Can I brown frozen ground meat?
You can cook it, but it will not brown well. The water released as it thaws floods the pan and prevents any crust from forming. Thaw fully and pat the surface dry for a genuinely browned result.
